Import a dataset
H2O LLM Studio provides a number of data connectors to support importing data from local or external sources and requires your data to be in a certain format for successful importing of data.
For more information, see Supported data connectors and format.
Import data
Follow the relevant steps below to import a dataset to H2O LLM Studio.
- On the H2O LLM Studio left-navigation pane, click Import dataset.
- Select the relevant Source (data connector) that you want to use from the dropdown list .Data sources
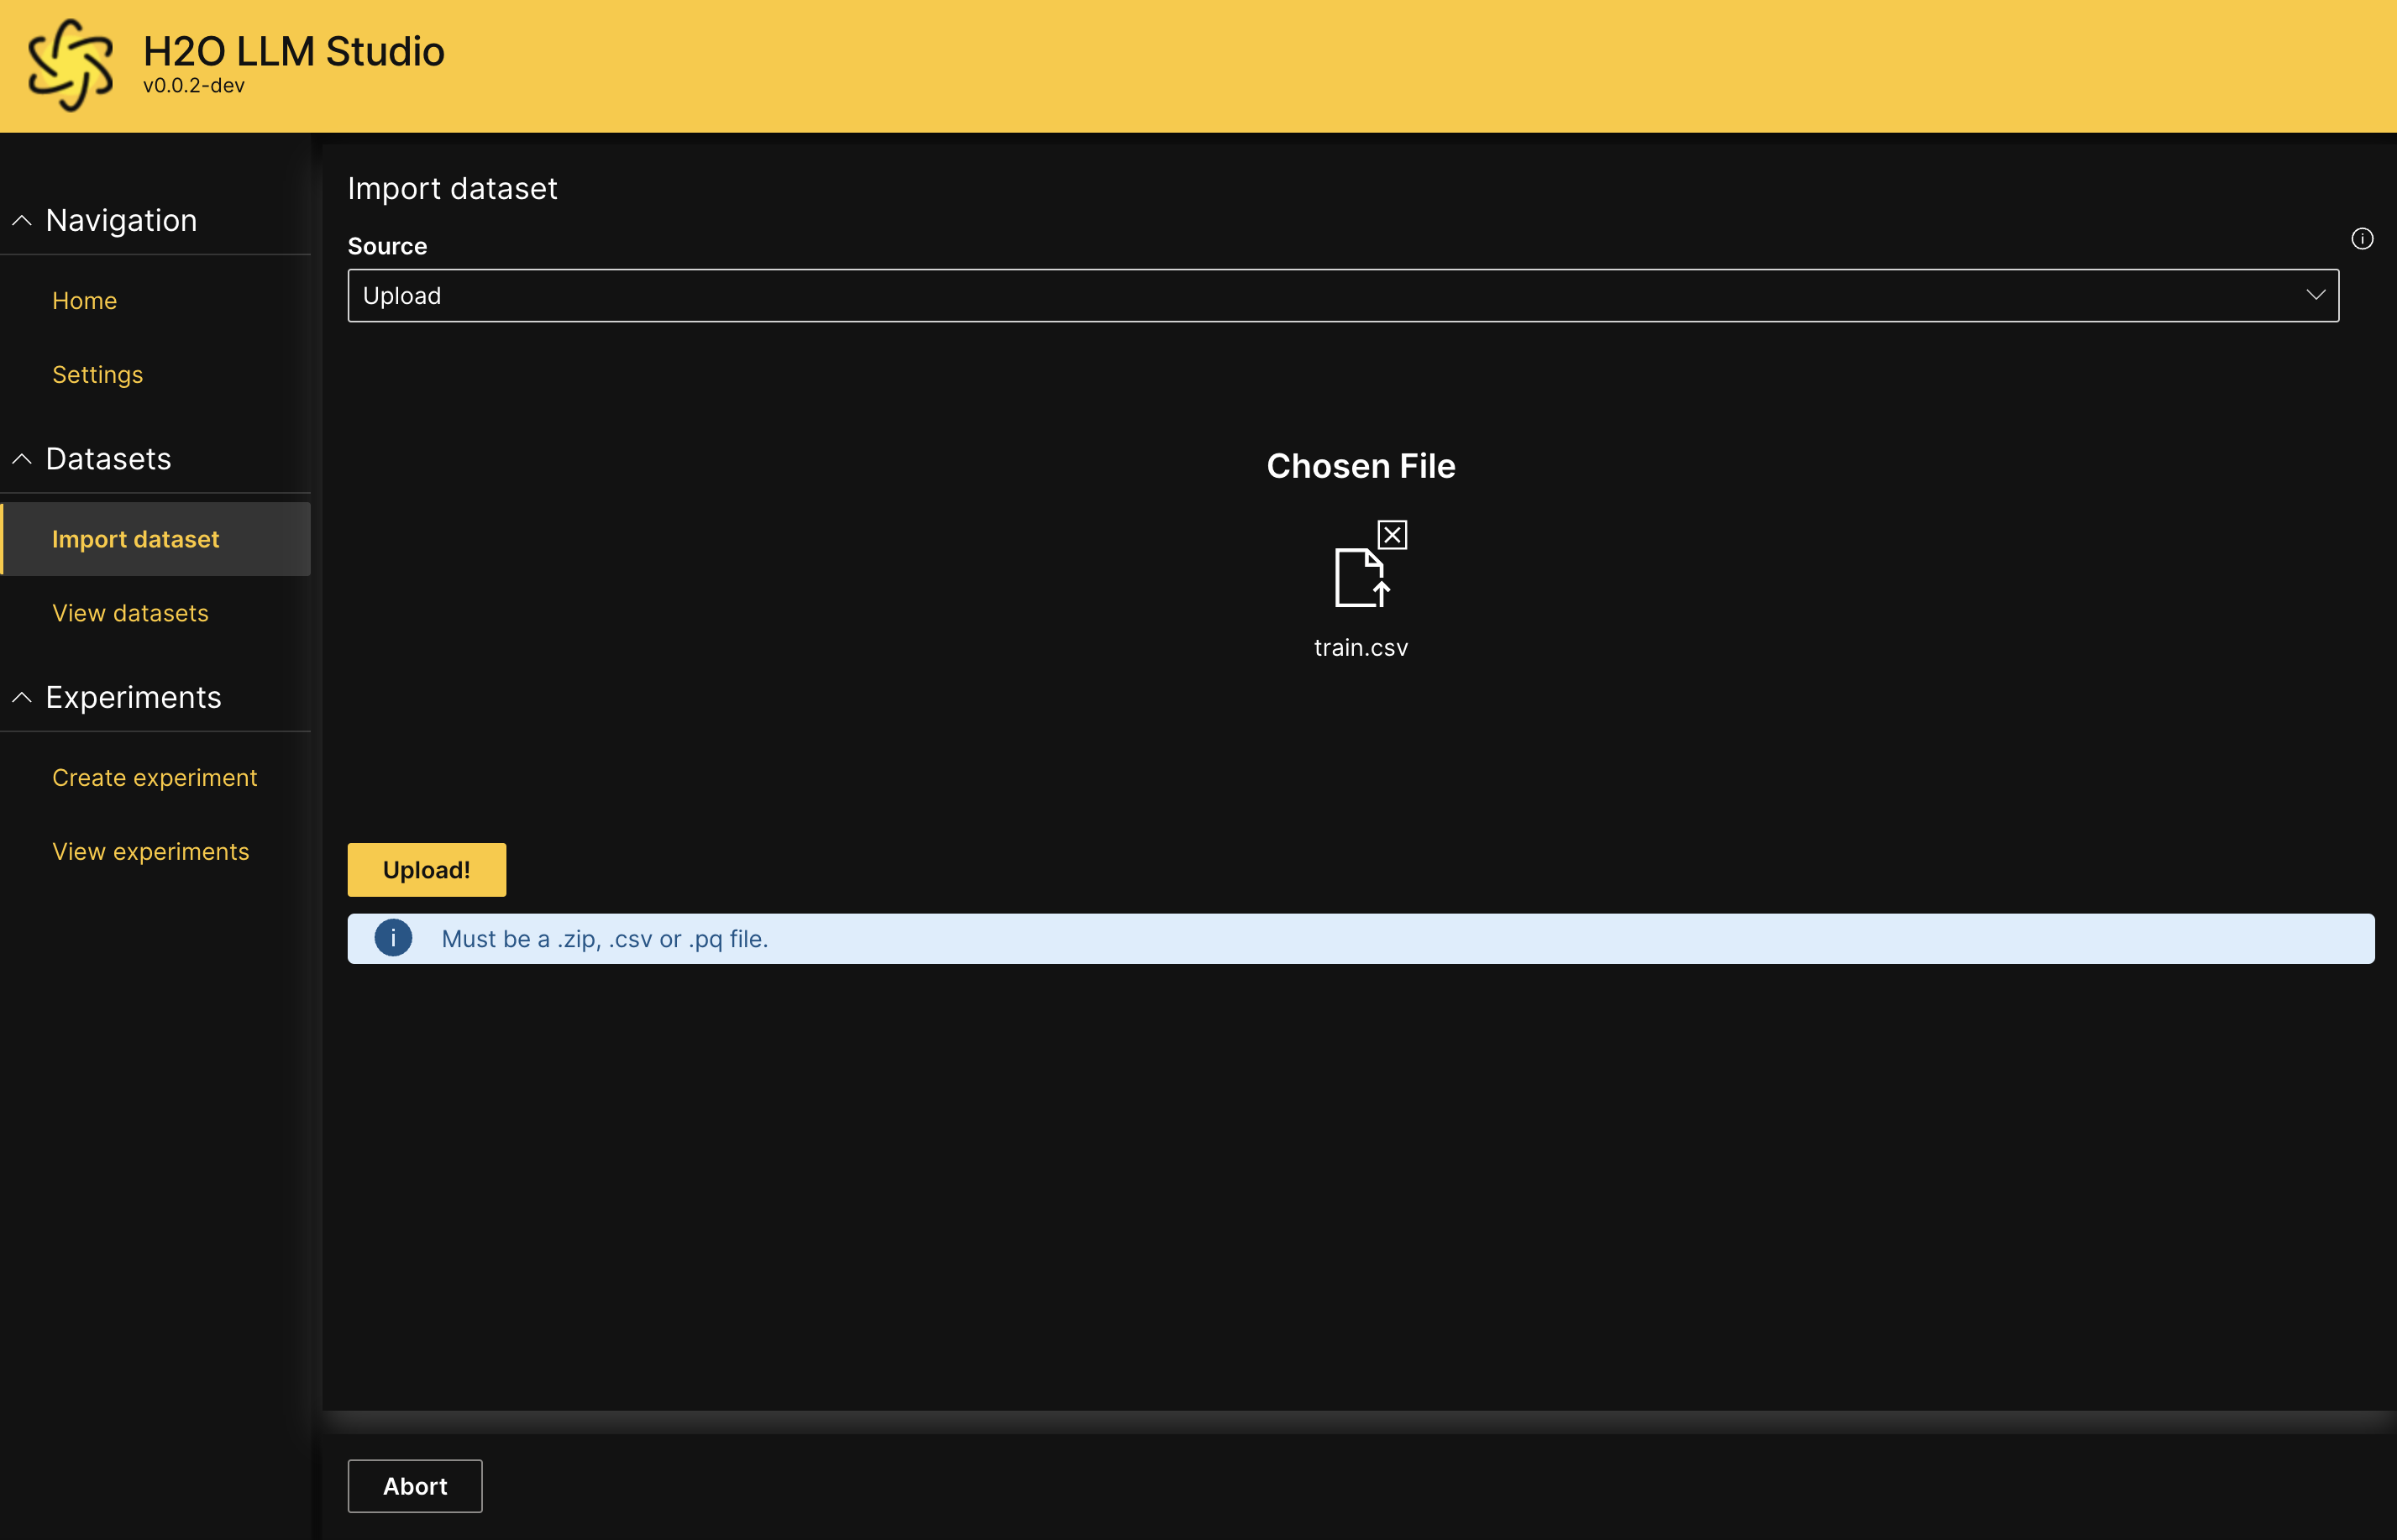
- Upload
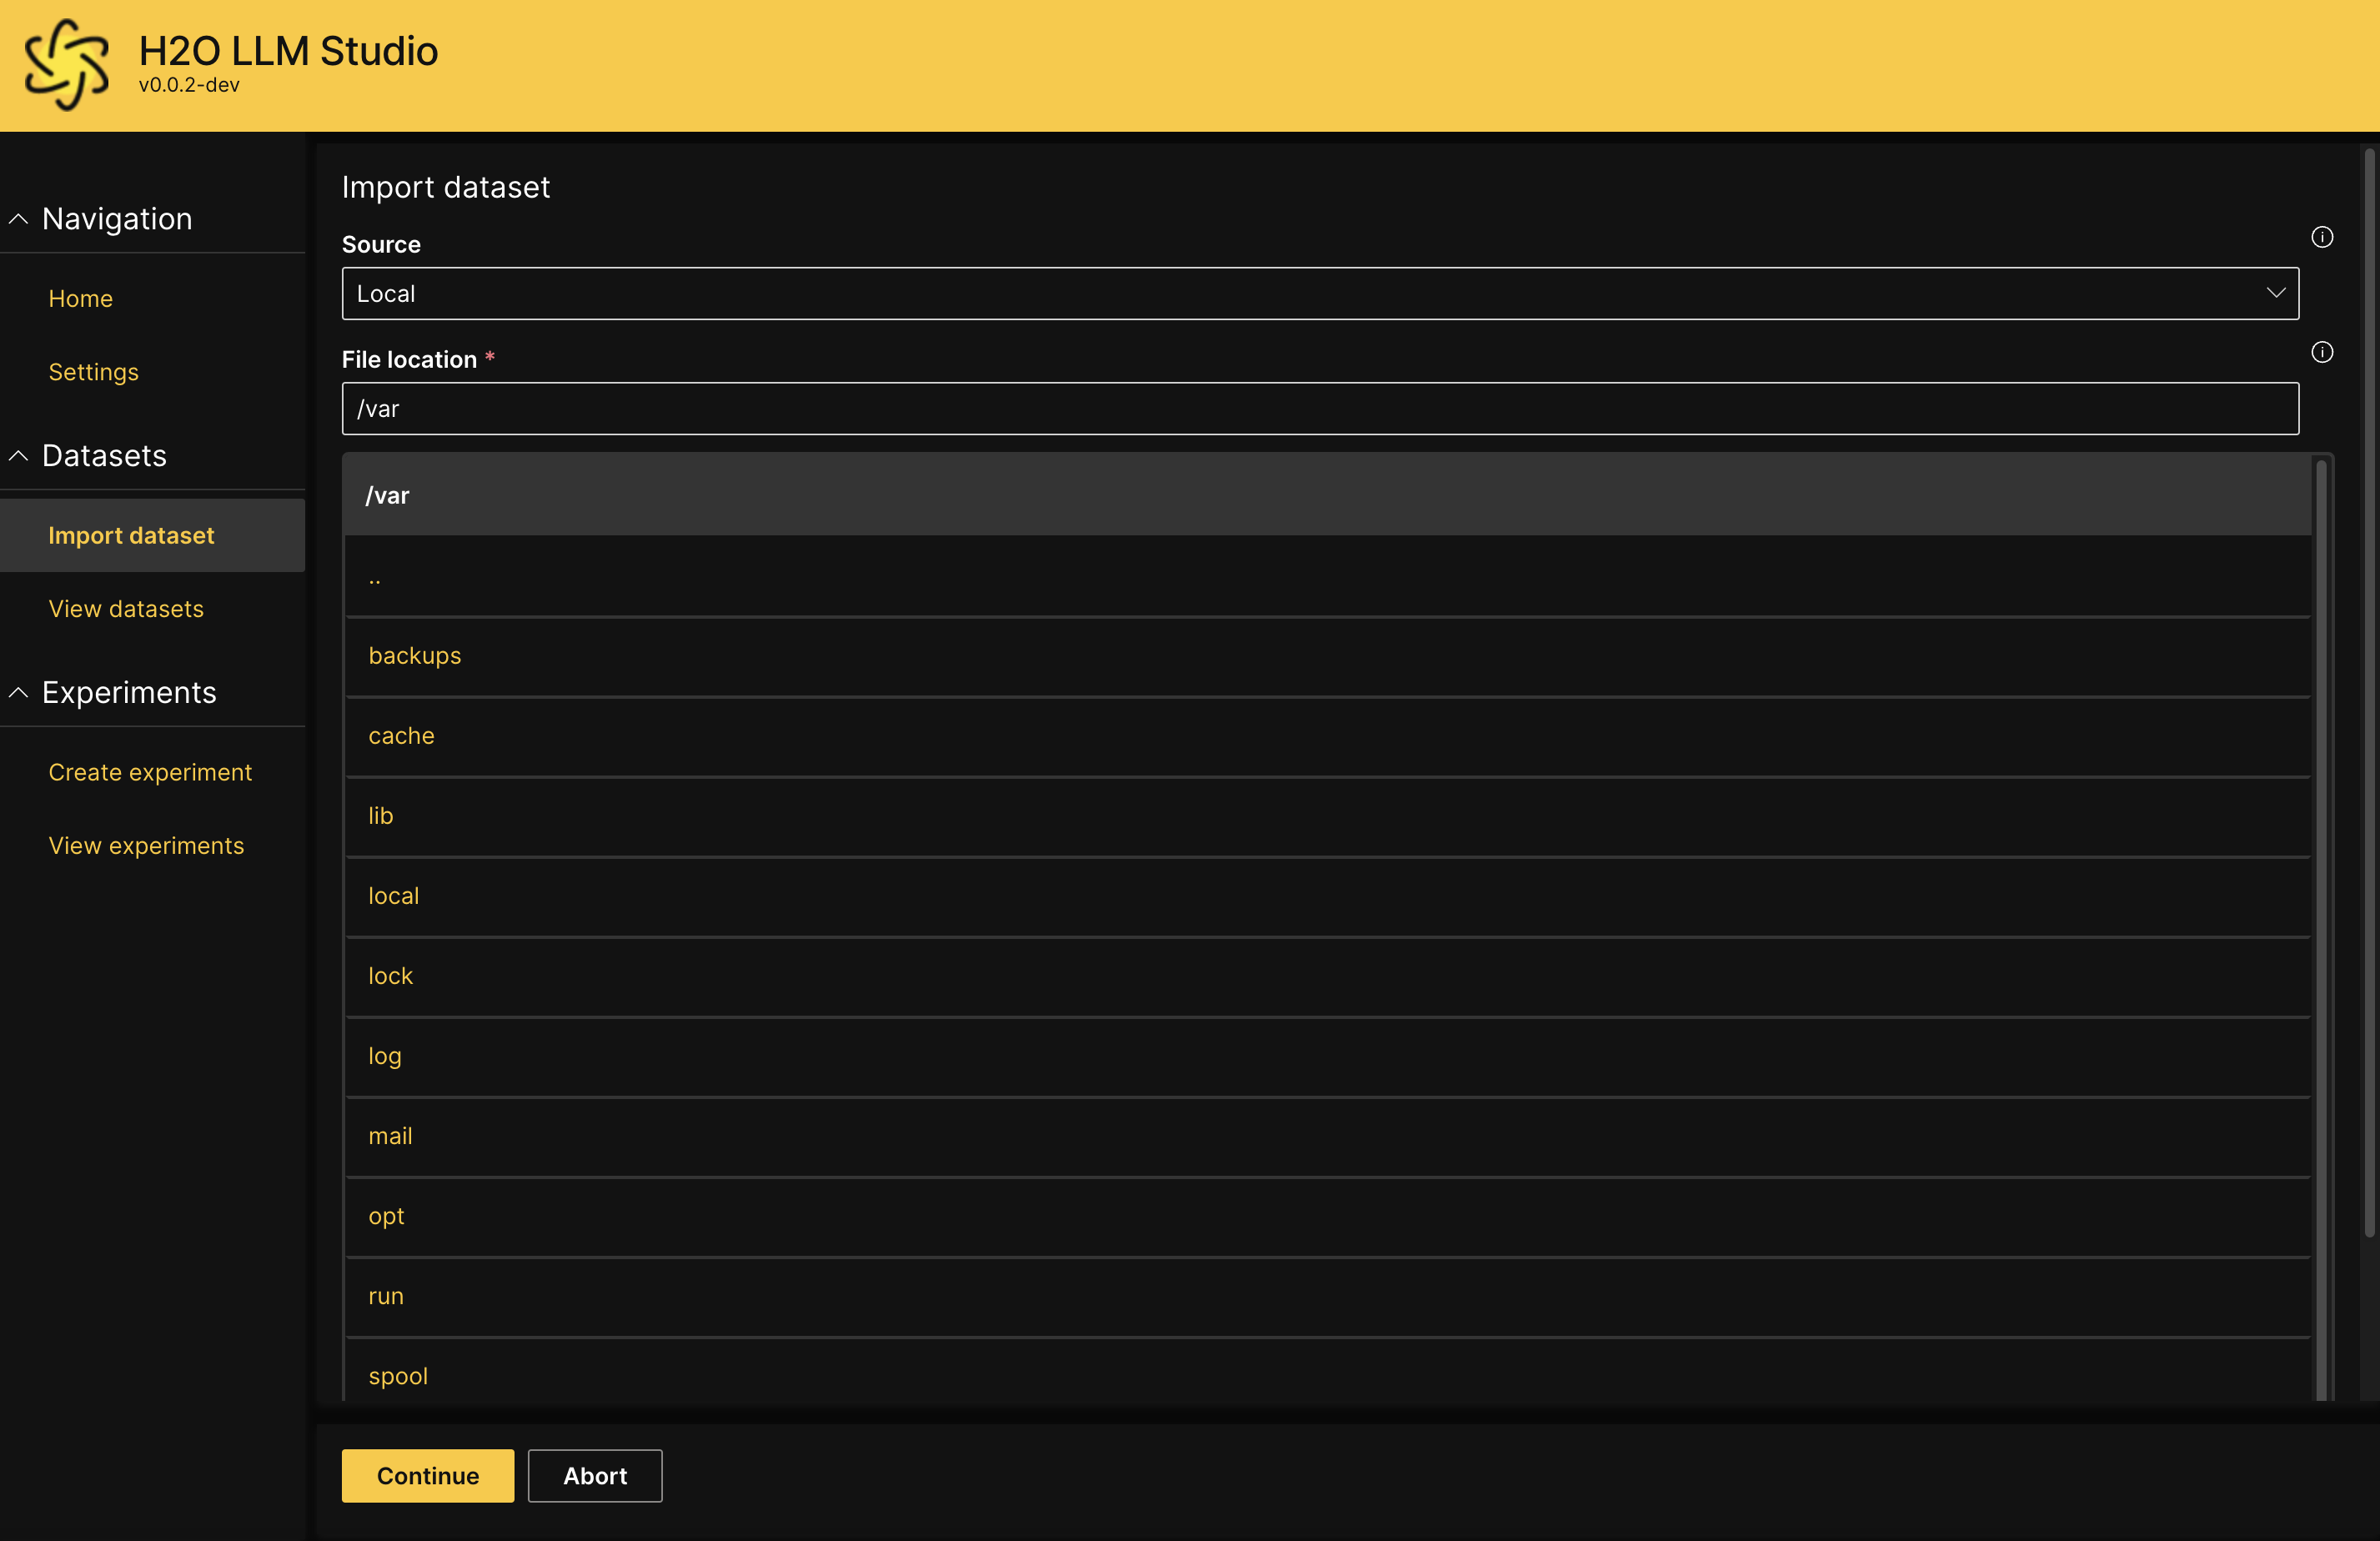
- Local
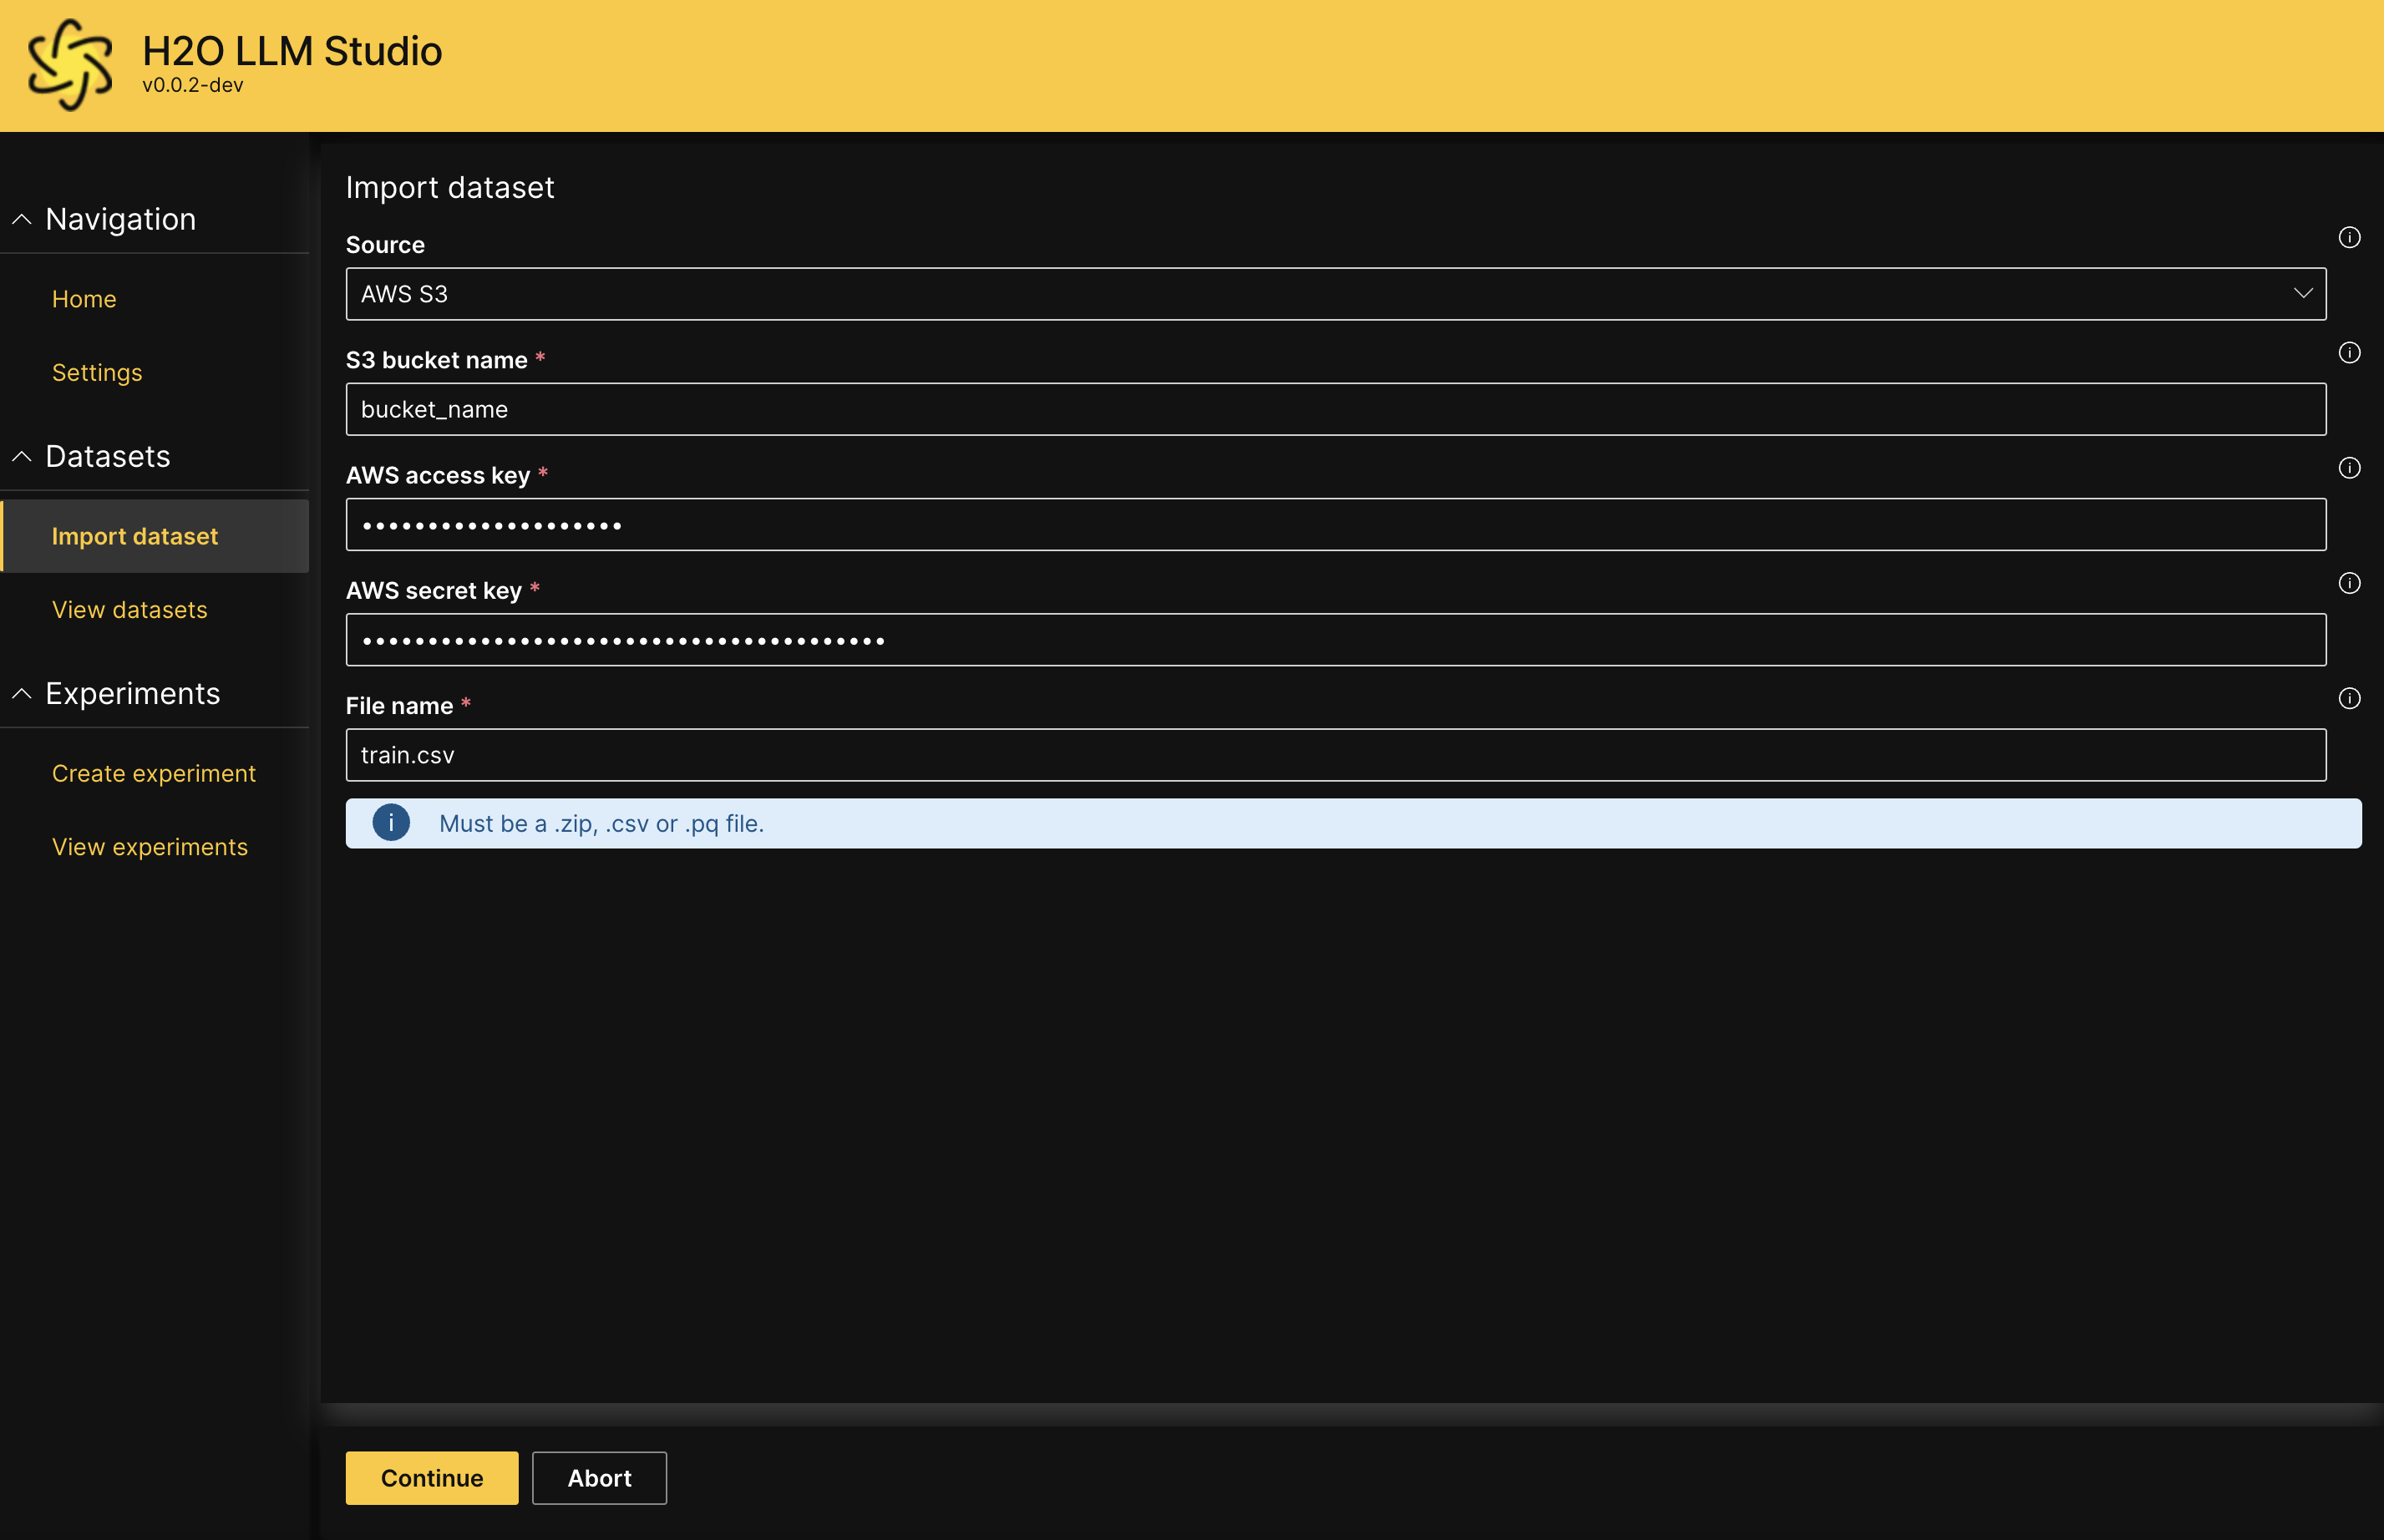
- AWS S3
- Azure Datalake
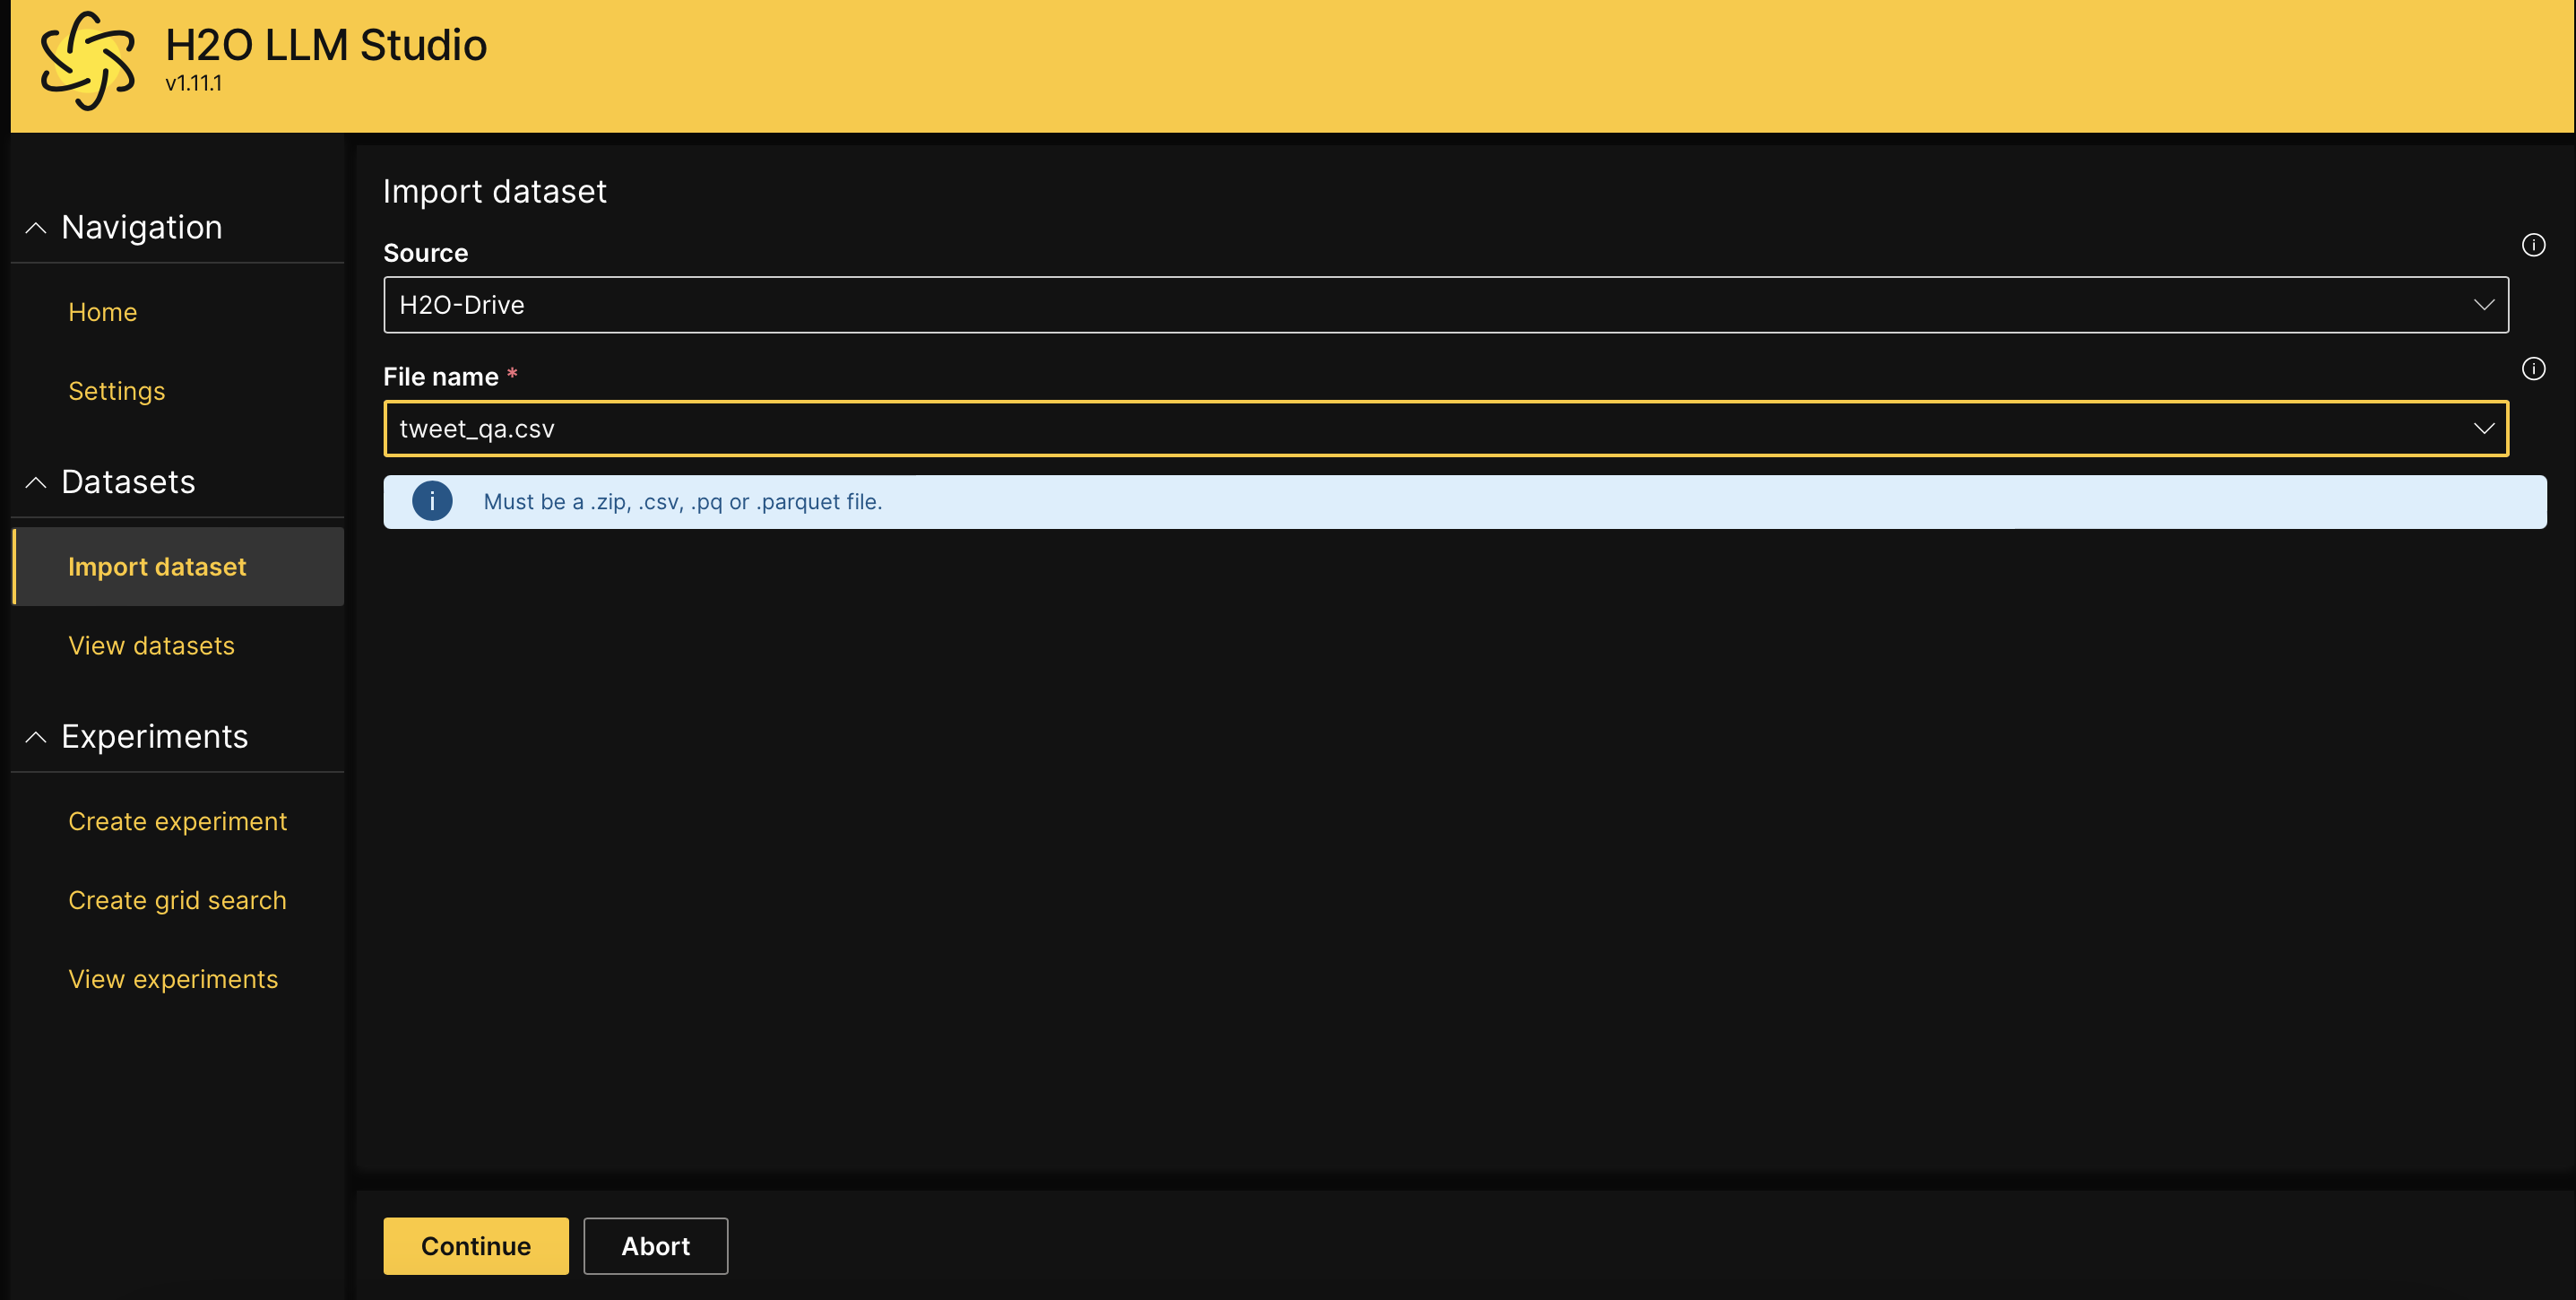
- H2O-Drive
- Kaggle
- Hugging Face
- Drag and drop the file, or click Browse and select the file you want to upload.
- Click Upload.
- Enter the file path as the File Location or select the relevant local directory that the dataset is located in.
- Click Continue.
- Enter values for the following fields:
- S3 bucket name:
The name of the S3 bucket including the reletive file paths. - AWS access key:
The access key associated with your S3 bucket. This field is optional. If the S3 bucket is public, you can leave this empty for anonymous access. - AWS access secret:
The access secret associated with your S3 bucket. This field is optional. If the S3 bucket is public, you can leave this empty for anonymous access. - File name:
Enter the file name of the dataset that you want to import.
NoteFor more information, see AWS credentials and Methods for accessing a bucket in the AWS Documentation.
- S3 bucket name:
- Click Continue.
- Enter values for the following fields:
- Datalake connection string:
Enter your Azure connection string to connect to Datalake storage. - Datalake container name:
Enter the name of the Azure Data Lake container where your dataset is stored, including the relative path to the file within the container. - File name:
Specify the exact name of the file you want to import.
- Datalake connection string:
- Click Continue.
- Select the dataset you want to upload from the list of datasets in H2O Drive.
- Click Continue.
- Enter values for the following fields:
- Kaggle API command:
Enter the Kaggle API command that you want to execute. - Kaggle username:
Your Kaggle username for API authentication - Kaggle secret key:
Your Kaggle secret key for API authentication.
- Kaggle API command:
- Click Continue.
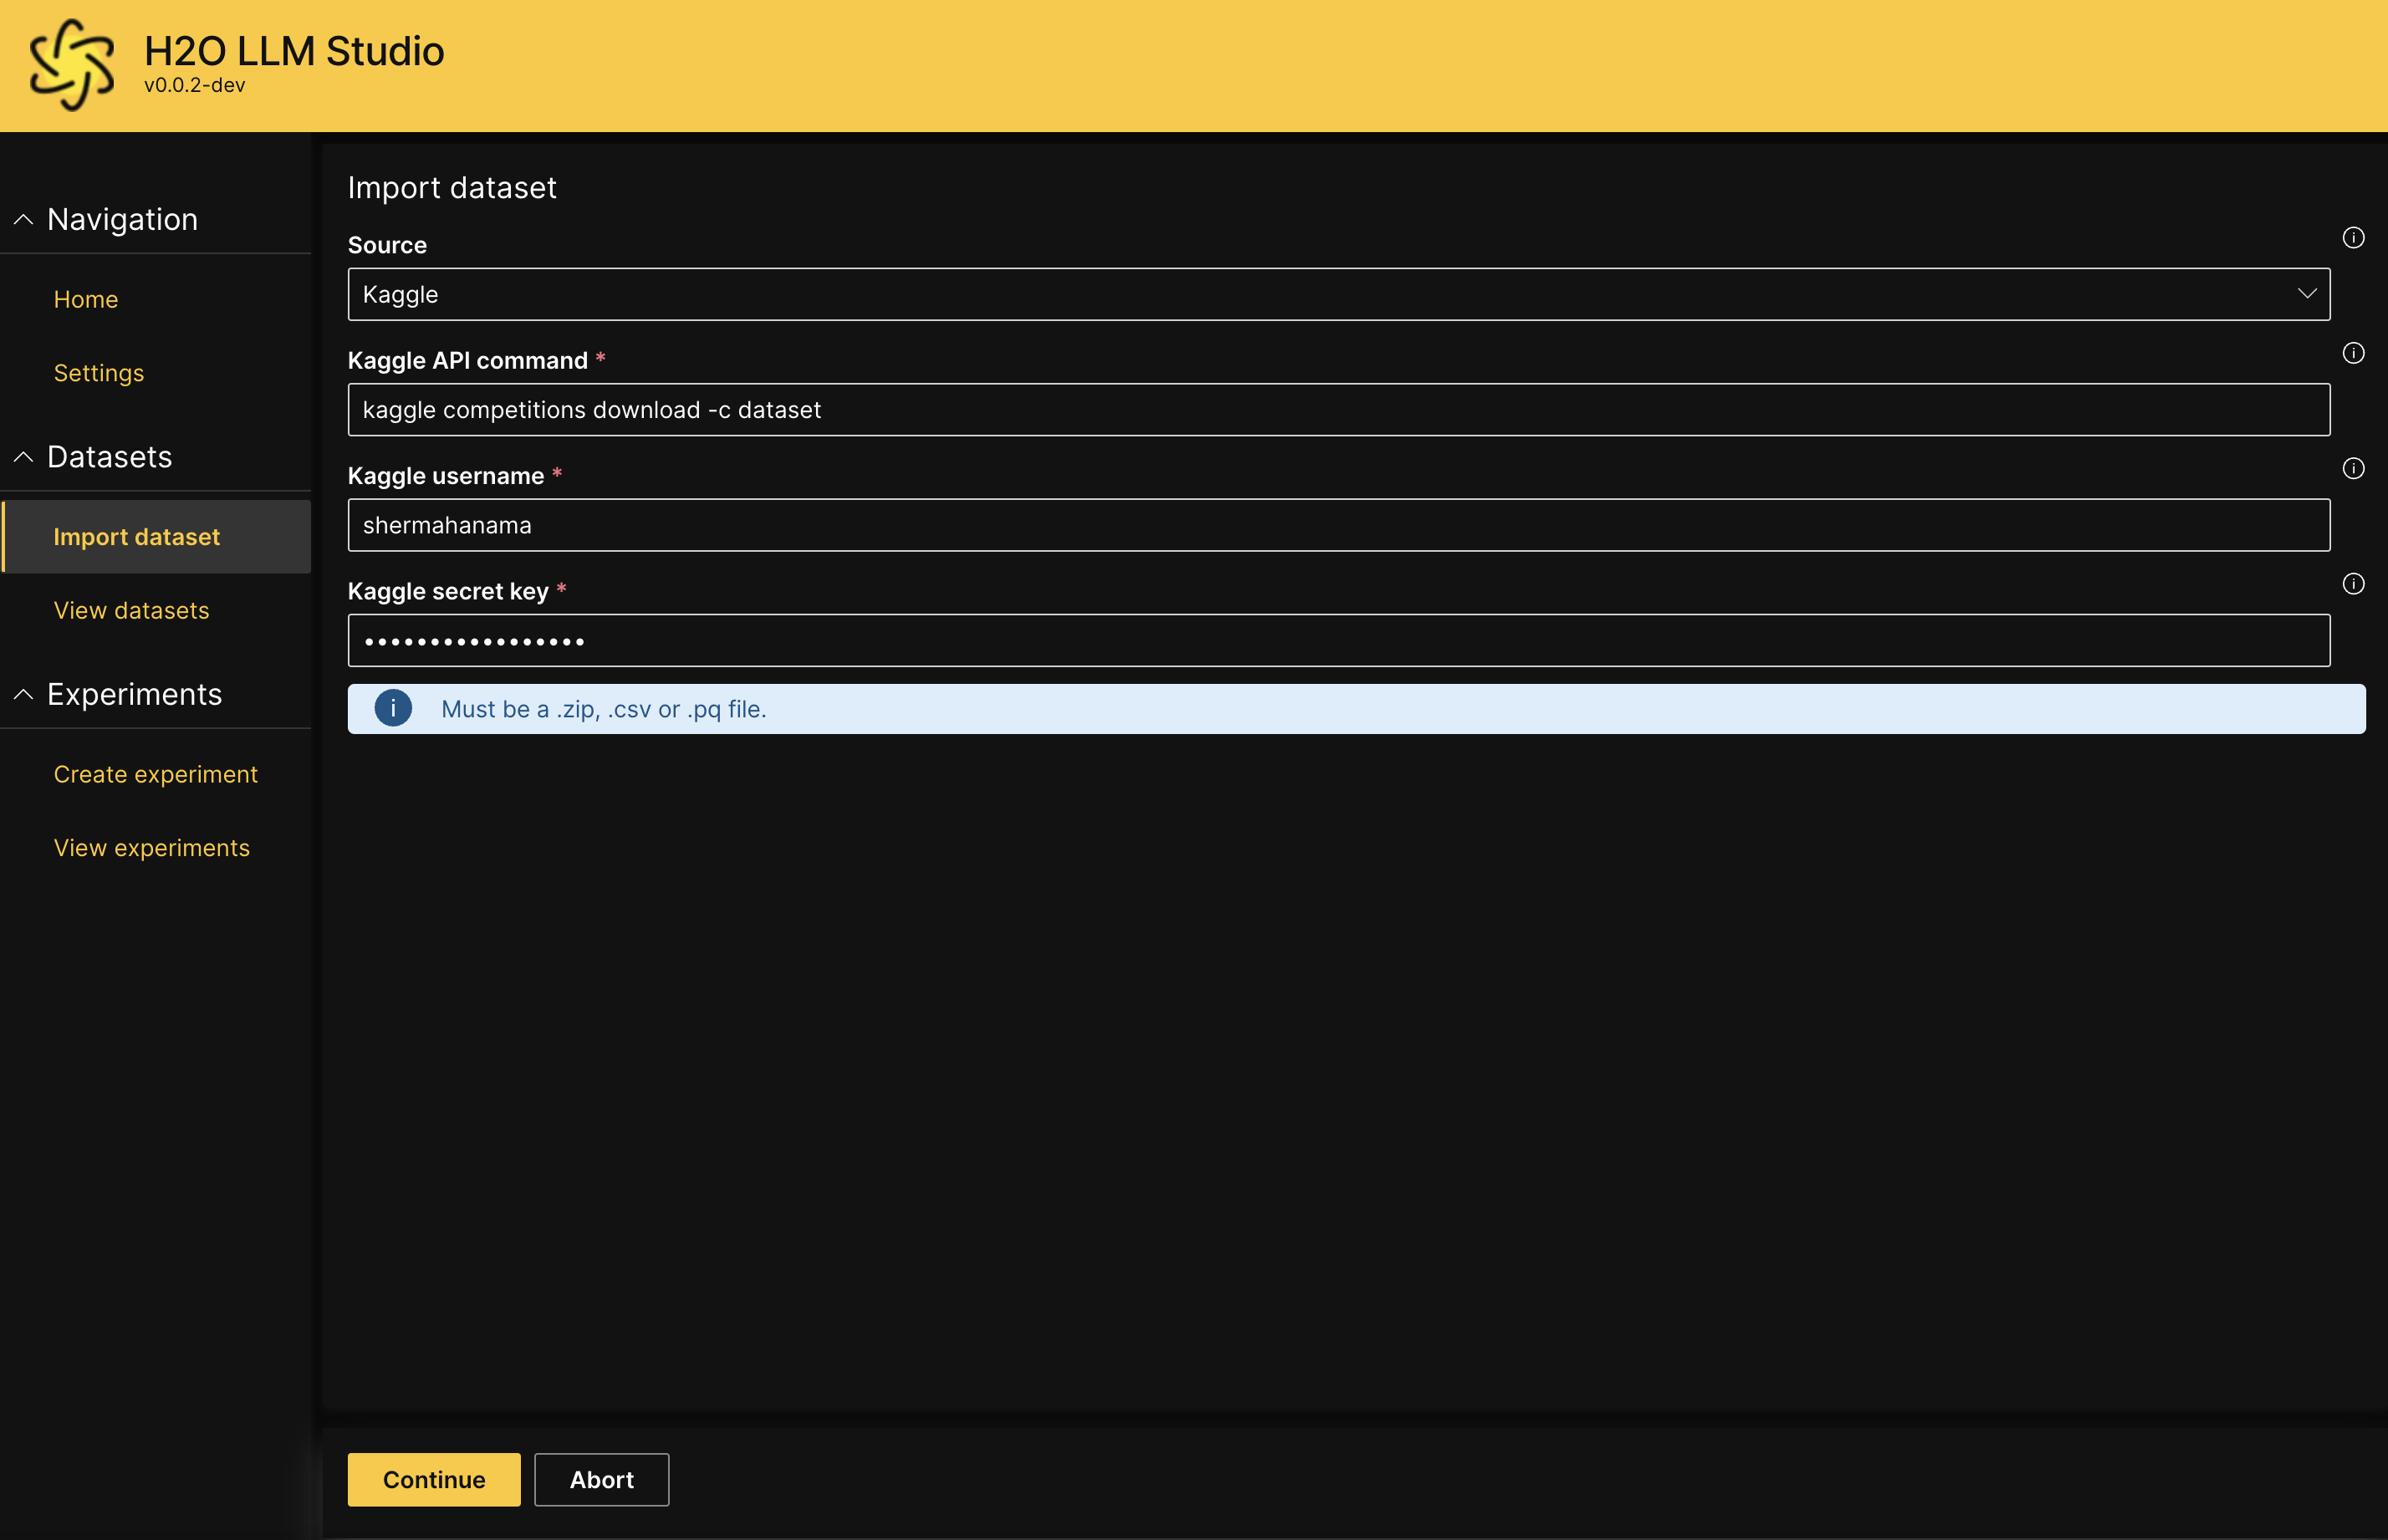
- Enter values for the following fields:
- Hugging Face dataset:
Enter the name of the Hugging Face dataset. - Split:
Enter the specific data split you want to import (e.g., "train", "test"). - Hugging Face API token (optional):
Enter your Hugging Face API token to authenticate access to private datasets or datasets with gated access.
- Hugging Face dataset:
- Click Continue.
Configure dataset
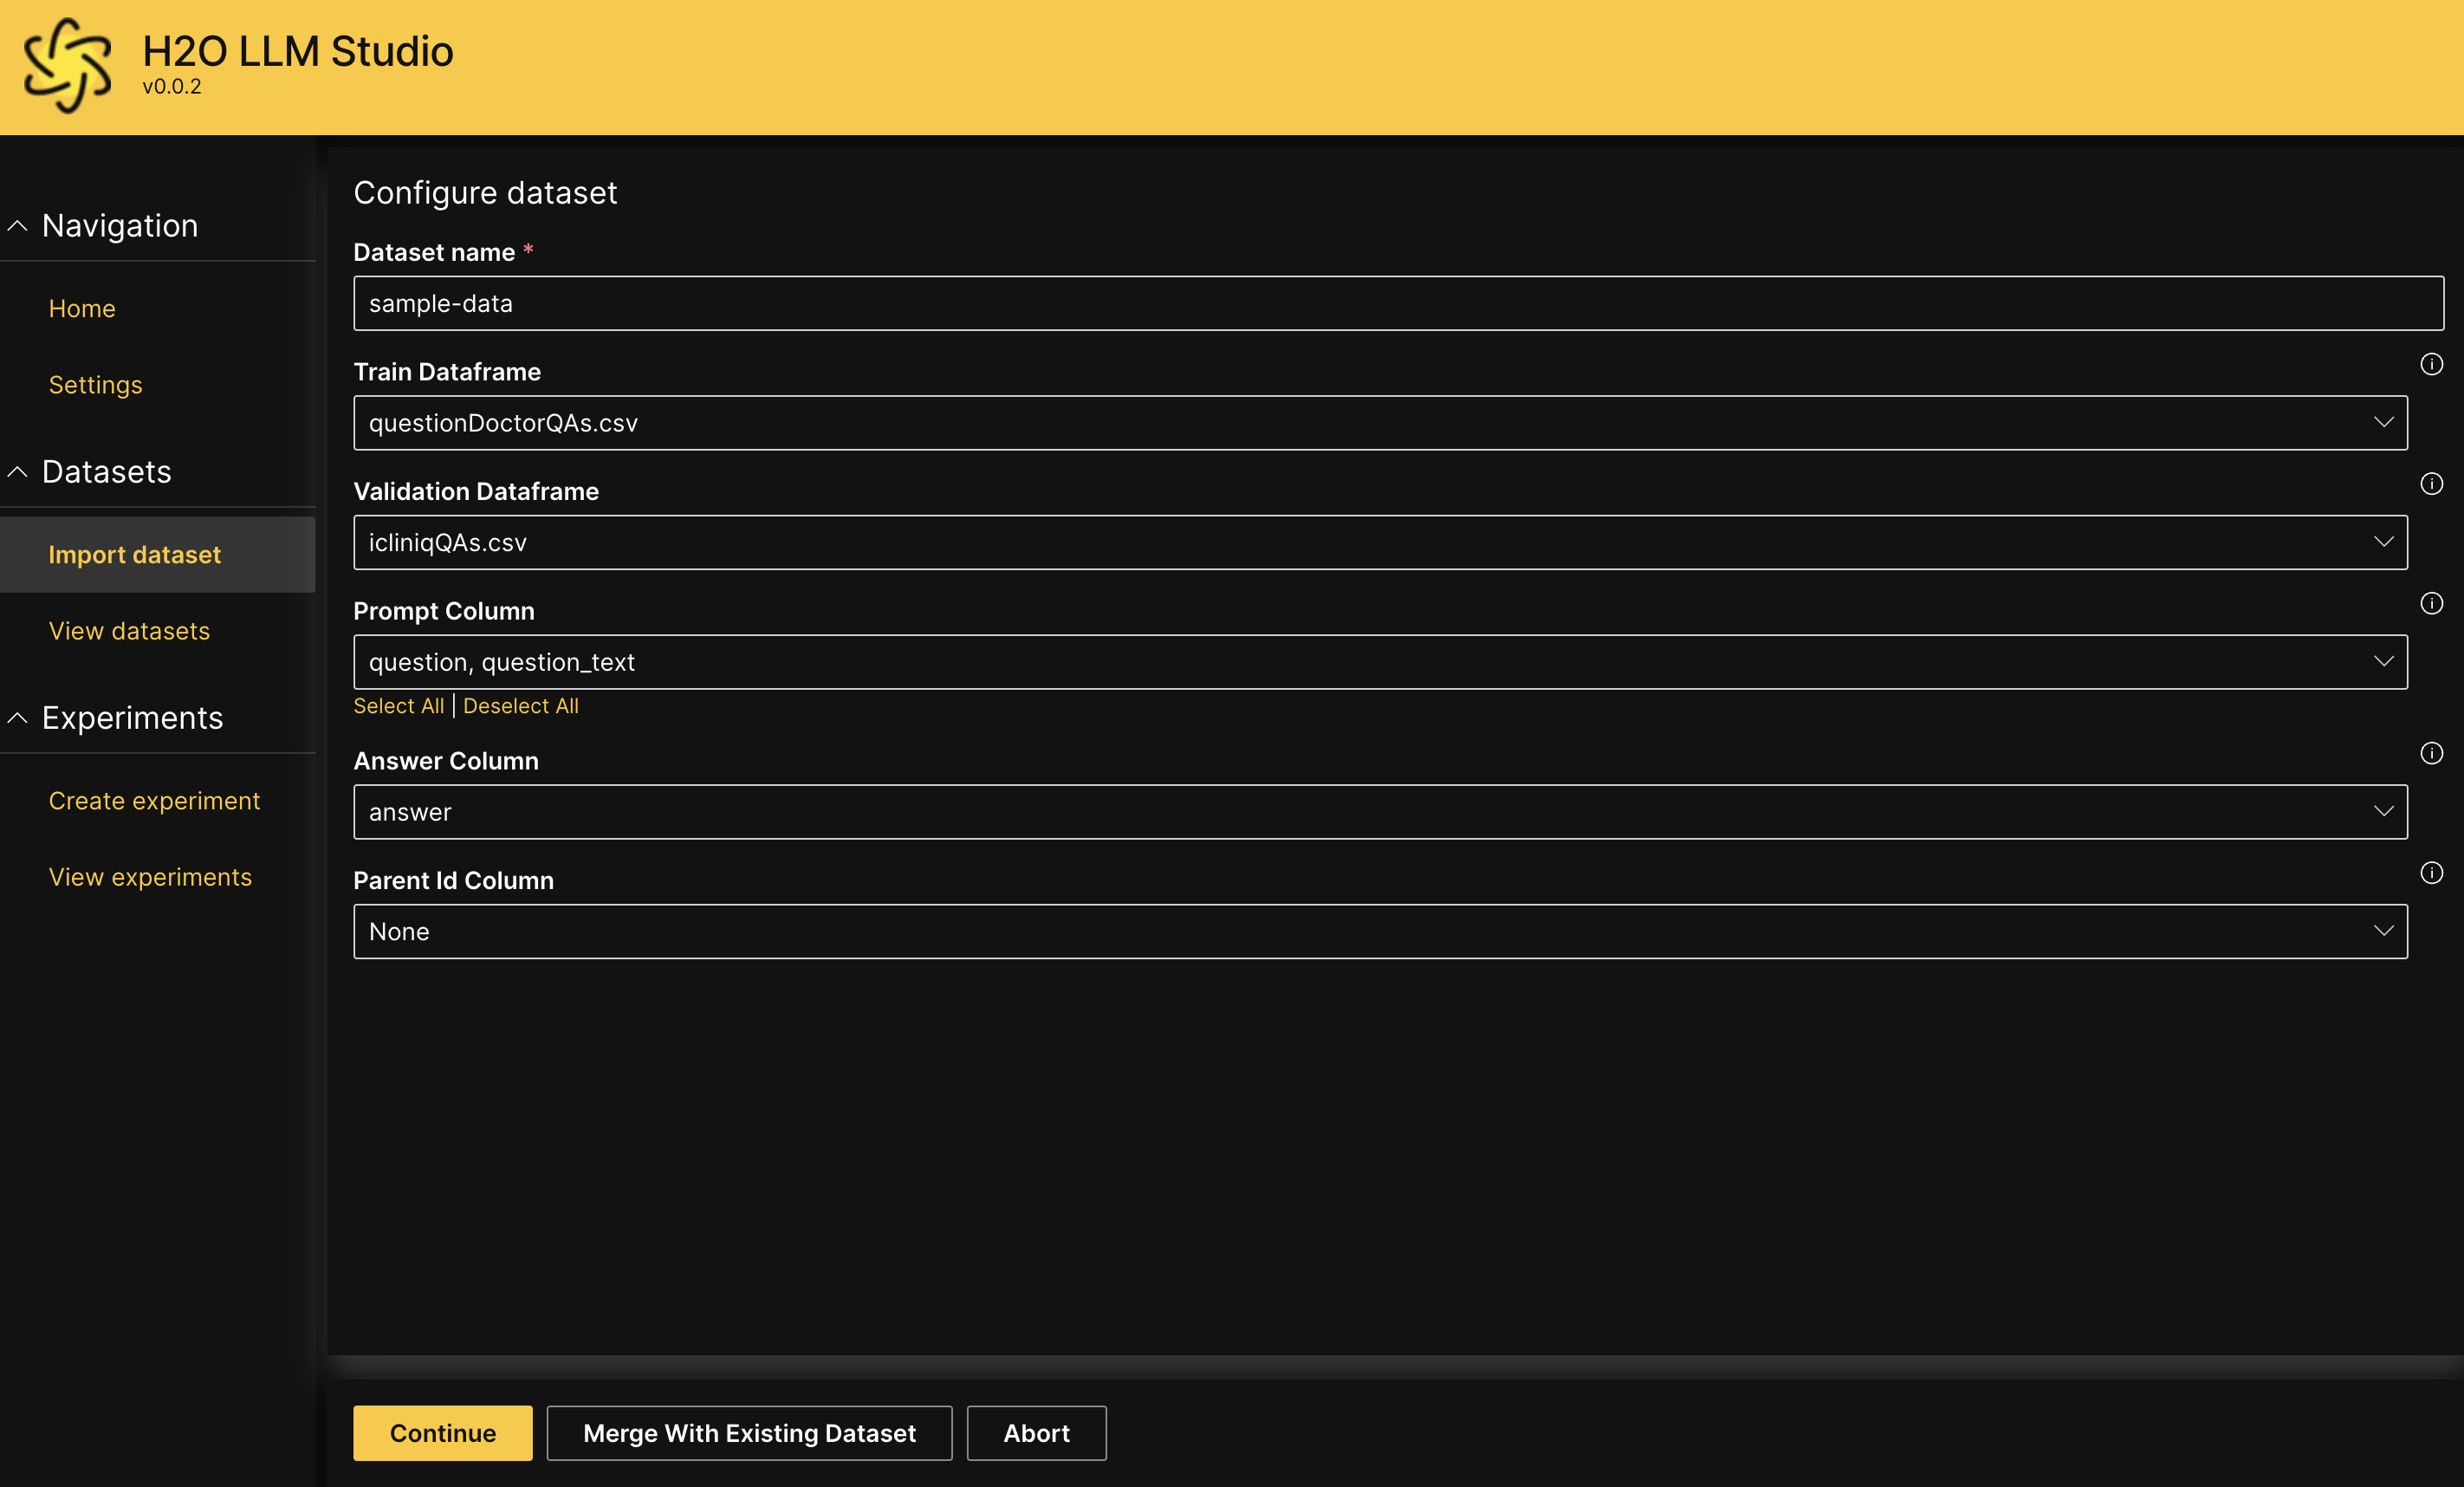
Once you have successfully uploaded or imported your dataset, you can configure the dataset settings. Depending on the problem type, you may need to specify the following:
You can upload a .zip file with both training and validation sets to avoid having to separately upload files.
Dataset name:
A suitable name for the whole dataset which includes both the train dataframe and validation dataframe.
Problem Type:
Defines the problem type of the experiment, which also defines the settings H2O LLM Studio displays for the experiment.
Causal Language Modeling: Used to fine-tune large language models
Causal Classification Modeling: Used to fine-tune causal classification models
Causal Regression Modeling: Used to fine-tune causal regression models
Sequence To Sequence Modeling: Used to fine-tune large sequence to sequence models
DPO Modeling: Used to fine-tune large language models using Direct Preference Optimization
Train Dataframe:
Defines a
.csvor.pqfile containing a dataframe with training records that H2O LLM Studio uses to train the model.- The records are combined into mini-batches when training the model.
Validation Dataframe:
Defines a
.csvor.pqfile containing a dataframe with validation records that H2O LLM Studio uses to evaluate the model during training.- The validation dataframe should have the same format as the train dataframe.
System Column:
The column in the dataset containing the system input which is always prepended for a full sample.
Prompt Column:
One column or multiple columns in the dataset containing the user prompt. If multiple columns are selected, the columns are concatenated with a separator defined in Prompt Column Separator.
Rejected Prompt Column:
The column in the dataset containing the user prompt for the rejected answer. By default this can be set to None to take the same prompt as for the accepted answer and should only be changed if the accepted and rejected answers exhibit different prompts, such as when using KTOPairLoss.
Answer Column:
The column in the dataset containing the expected output.
For classification, this needs to be an integer column starting from zero containing the class label, while for regression, it needs to be a float column.
Multiple target columns can be selected for classification and regression supporting multilabel problems. In detail, we support the following cases:
- Multi-class classification requires a single column containing the class label
- Binary classification requires a single column containing a binary integer label
- Multilabel classification requires each column to refer to one label encoded with a binary integer label
- For regression, each target column requires a float value
Rejected Answer Column:
The column in the dataset containing the rejected response, i.e. an answer that is not preferred by the user.
See https://arxiv.org/abs/2305.18290 for more details.
Parent Id Column:
An optional column specifying the parent id to be used for chained conversations. The value of this column needs to match an additional column with the name
id. If provided, the prompt will be concatenated after preceding parent rows.
Data validity check
H2O LLM Studio will provide a preview of the dataset input (sample questions) and output (sample answers) according to the content of the imported dataset. Review the text to ensure that the input and output is as intended, and then click Continue.
View dataset
You will now be redirected to the View datasets screen. You should be able to see the dataset you just imported listed on the screen.
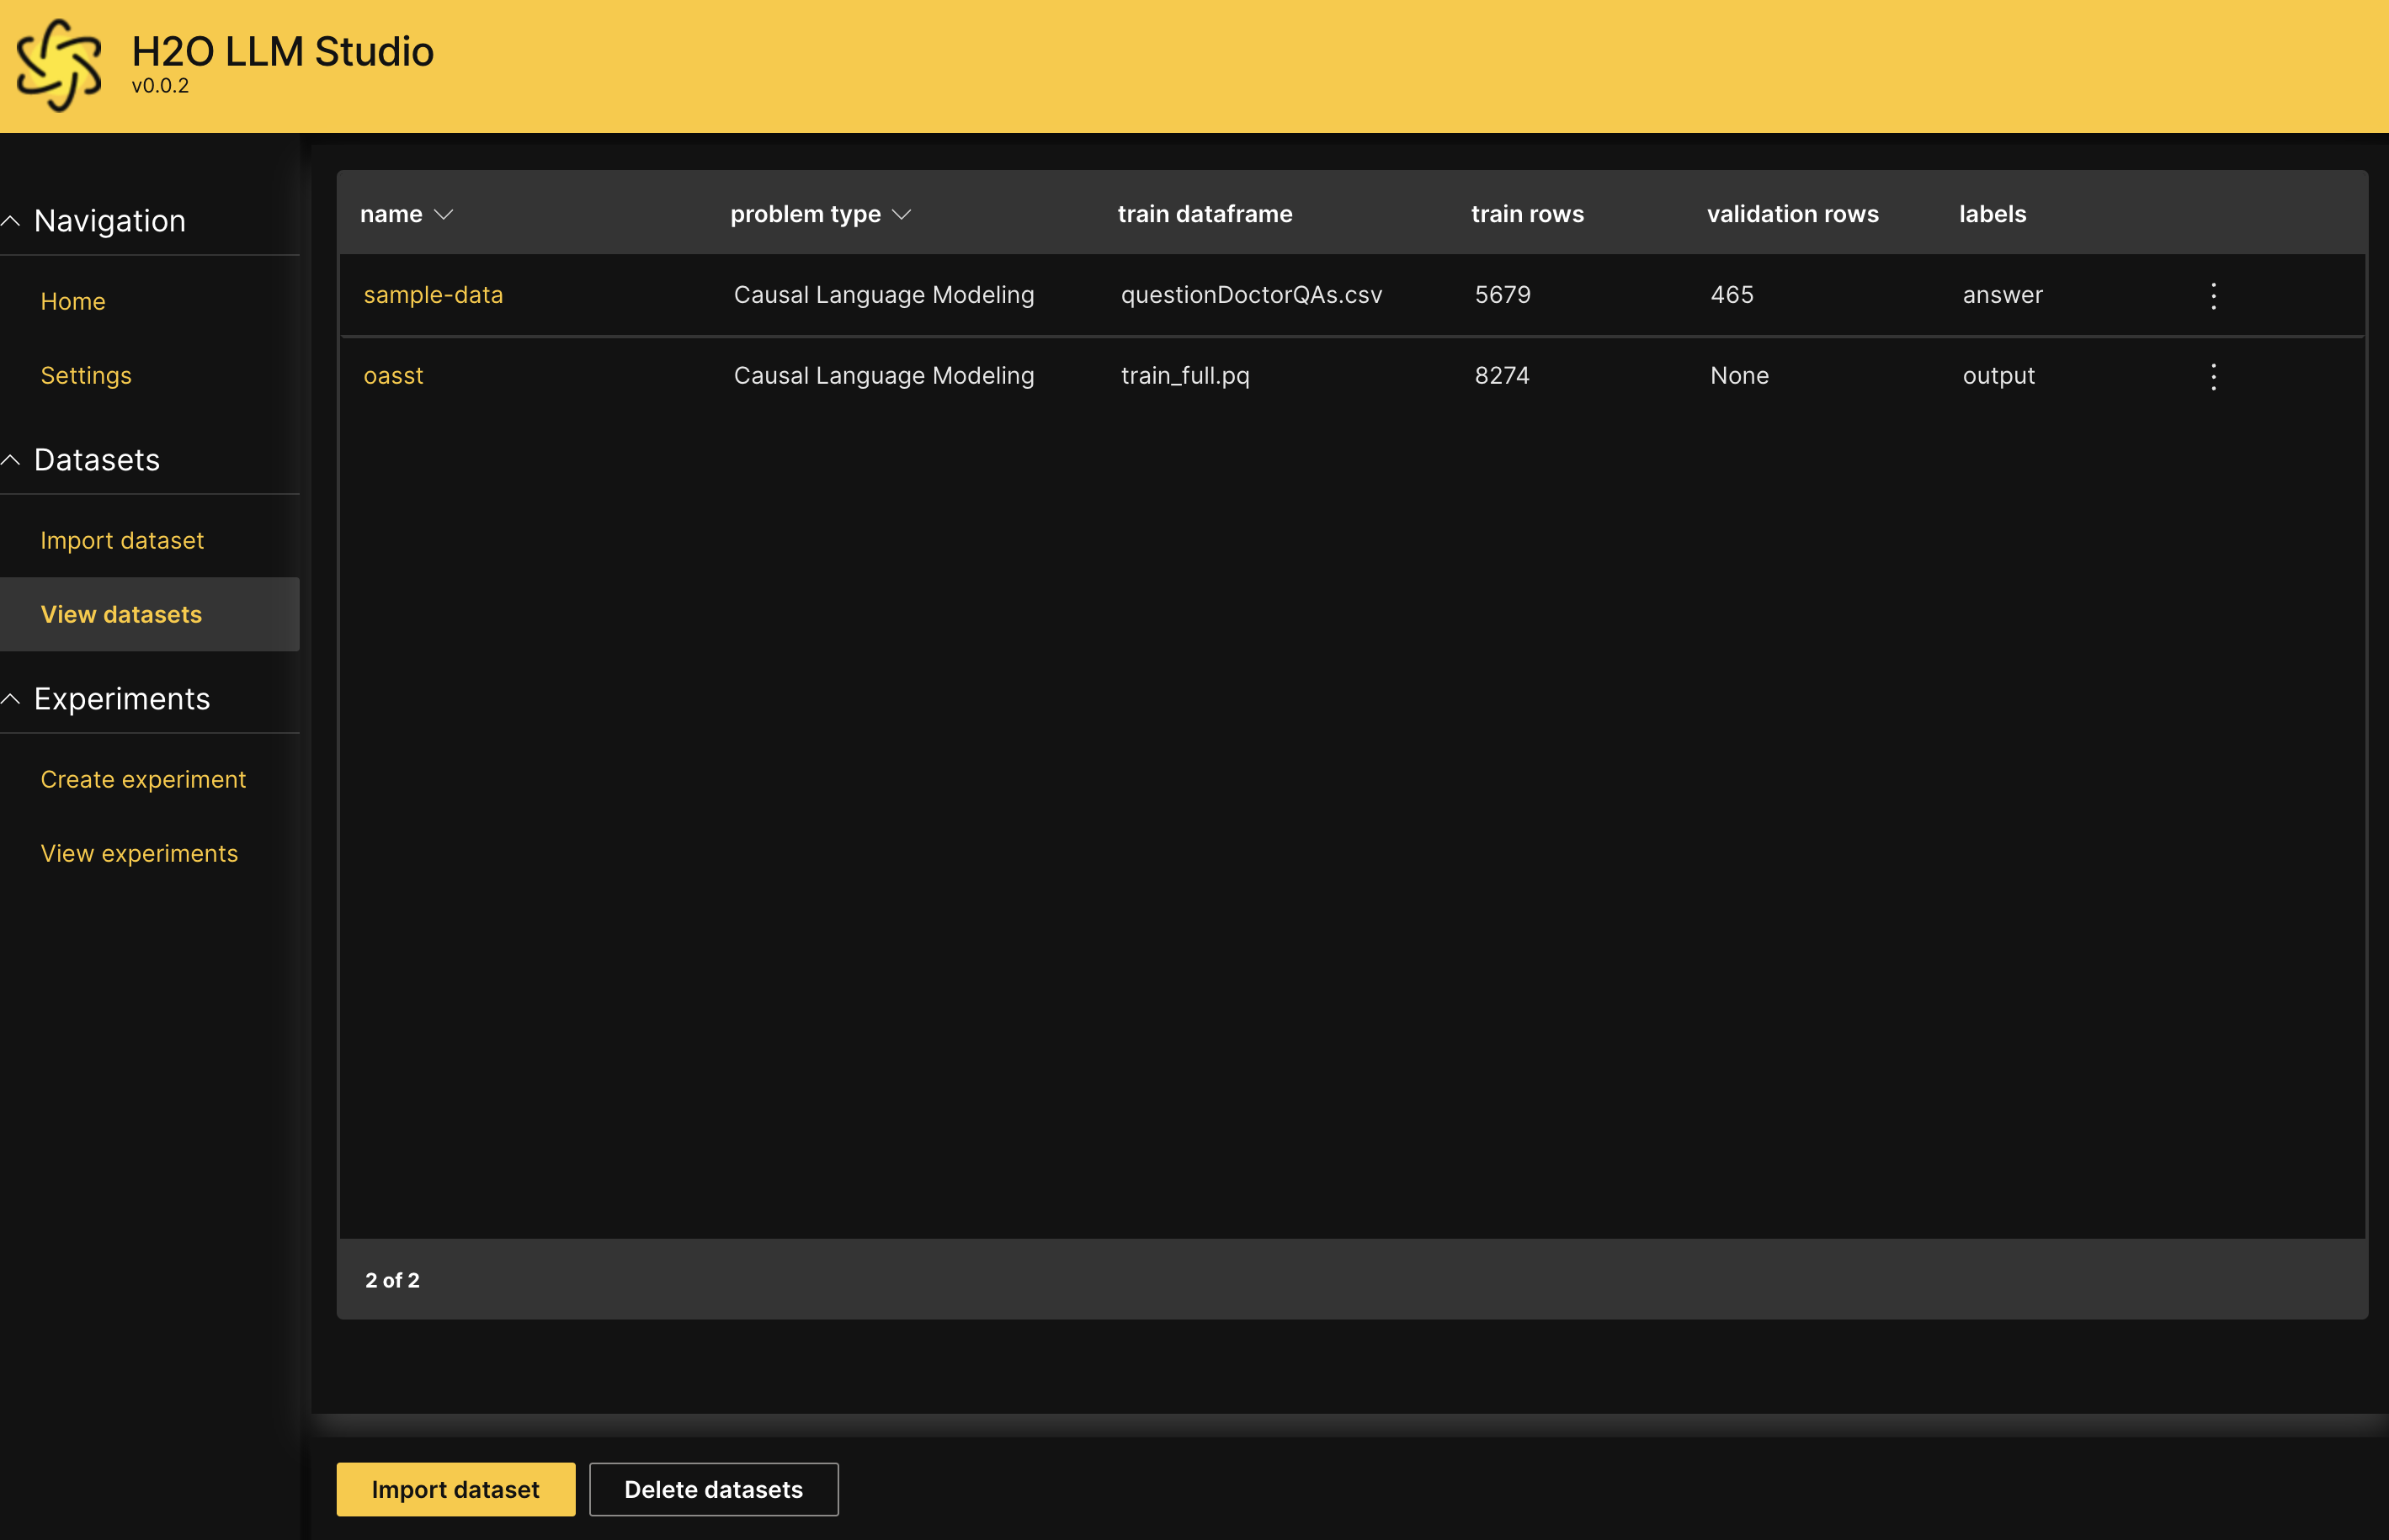
For more information about viewing dataset summary and statistics, see View and manage datasets
- Submit and view feedback for this page
- Send feedback about H2O LLM Studio | Docs to cloud-feedback@h2o.ai