Importing apps
This tutorial guides you through importing a Wave app or other Python apps to the App Store, so you can iteratively develop and prototype the app and then publish it to users.
Before you begin
Before you begin, you must have the following artifacts:
- Access to the H2O AI Cloud App Store
- App upload permissions
- The Wave or Python app source code of the app that you wish to upload
App configurations
First, ensure that your app source code is bundled and ready for import. For more information about app bundle structure, see Developer guide.
There are a few more files that are required before you go ahead and import to the App Store.
-
**
requirements.txtfile **- Create a file calledrequirements.txtto indicate which packages and versions to install in the Python virtual environment when running the app on the App Store.sample requirements.txt filealtair==4.1.0
h2o-wave==0.20.0noteFor production use cases, always pin your libraries and their transitive dependencies in the
requirements.textwith a specific version to ensure that your app does not break or get unexpected behavior when a new version of a library is available on PyPi. For more information, see Requirements File Format in the Pip documentation. -
.appignorefile - Create a file named.appignoreto reduce the size of your Wave app bundle. This file allows you to specify which files or directories to exclude, ensuring that only essential components are included. -
app.tomlfile - Create a new file calledapp.toml. This is a configuration file that tells the App Store how to present the app to end users and how to run it. It contains details such as the location path to the entry point of the source code, app title, app secrets, and indicates any special configuration for running the app such as whether or not users need to log in to use the app, should there be GPUs, etc.Setting up and configuring other Python applications follows a similar process, with only a few adjustments required in the
app.tomlfile. Here's an example with the key differences to illustrate:
- Wave apps
- Python apps
The app.toml file for Wave apps :
toml title="sample app.toml file"
[App]
Name = "ai.h2o.wave.my-first-app"
Version = "0.0.1"
Title = "Hello, World!"
Description = "Show a card to the user explaining this is my first app."

[Runtime]
Module = "app"
The app.toml file for Python apps :
toml title="sample app.toml file for Python apps"
[App]
Name = "ai.h2o.demo.streamlit"
Version = "0.0.1"
Title = "Streamlit Demo App"
Description = "Publish and use Streamlit in H2O's AI App Store"
LongDescription = "README.md"
InstanceLifecycle = "Managed"
Tags = ["DEMO", "APP_DEV"]

[Runtime]
Module = "src.entrypoint"
AppMode = "python" # Required for AI App Store to know this is not a Wave app
Port = 8501 # Required to successfully access this app
RoutingMode = "DOMAIN" # "BASE_URL"
-
To see the full list of configuration options for this file, see Developer guide - app.toml.
-
Moduleis the name name of the python module that is the entrypoint of the app (relative to theapp.tomlfile). If you have all your source code in a folder calledsrcand your main app file is calledapp.py, the value forModulewould besrc.app. For more information about Python Modules, see the Python documentation.
-
app.pyfile - This is the main source code file for your Python app.sample app.py filefrom h2o_wave import Q, app, main, ui # noqa: F401
@app("/")
async def serve(q: Q):
q.page["lorem"] = ui.markdown_card(
box="1 1 2 2",
title="Lorem Ipsum",
content="Lorem ipsum dolor sit amet, consectetur adipiscing elit. Proin id blandit nunc.",
)
await q.page.save()
AI App Store metadata
LongDescription
LongDescription is a path to a file, relative to the archive root, containing an additional multi-line Markdown-formatted description of the app. The file typically includes a brief description of the app, its features, target audience, and information on sending feedback. Limiting the content of this file to bulleted lists (*), H3 headings (###), and hyperlinks ([]()) is recommended. The LongDescription goes to the App details section of a particular app.
Images
The static folder of the app bundle contains screenshots (files starting with screenshot) of the app's features, graphs, tables, or the application flow. These screenshots are displayed in the App details section.
Icon
The static folder of the app bundle contains the app icon (a PNG or JPEG file starting with icon or the application name), which appears on the particular app tile.
The following is a list of sizing guidelines for app icons:
- The icon must be square with the same height and width.
- The icon must be at least 400 pixels wide and no larger than 1000 pixels.
- The file size of the icon must be less than 100KB.
Importing and publishing an app
You can import your Wave or Python app to the App Store using one of the following methods. The easiest and fastest way to deploy, run, and manage your app is using the H2O CLI. However, you can also use the GUI if you prefer.
To try importing and publishing an app, you can download the sample bundled app and follow the below instructions to deploy it on your H2O cloud.
Using H2O CLI
-
Set up and configure H2O CLI.
-
Navigate to your app's source directory on the command line.
-
Run the following command to immediately import and run your app on the App Store.
h2o bundle deploy --generate-version=falsenoteFor more information, see Running an app under development or Publishing an app for others to see and launch.
Once the app is imported, you will see it listed on the MY APPS page of the App Store. This page will list all the applications that you own. Now that the app has been imported successfully, you can update the visibility of the app, view/update app details, run it, or delete the app using the H2O CLI or directly via the MY APPs page.
noteYou can use
.appignoreto ignore the unnecessary files while bundling your app and ensure that you don't have any unwanted files being bundled. For more information, seeapp.tomlin App Bundle Structure. -
Access the URL provided on the CLI on a browser window to see your app.
$ h2o bundle deploy --generate-version=false
...
URL https://22222222-3333-4444-5555-666666666666.cloud.h2o.ai -
To publish it and make it available to all users, run the following command on the CLI.
$ h2o app update -vnoteFor more information, see Updating app visibility
-
Access the App Store on a browser window.
You will see that your app is now published on the App Store page and is ready to be used by other users on the platform!
Using the GUI
Optionally, you can also run this app using the H2O AI Cloud user interface.
-
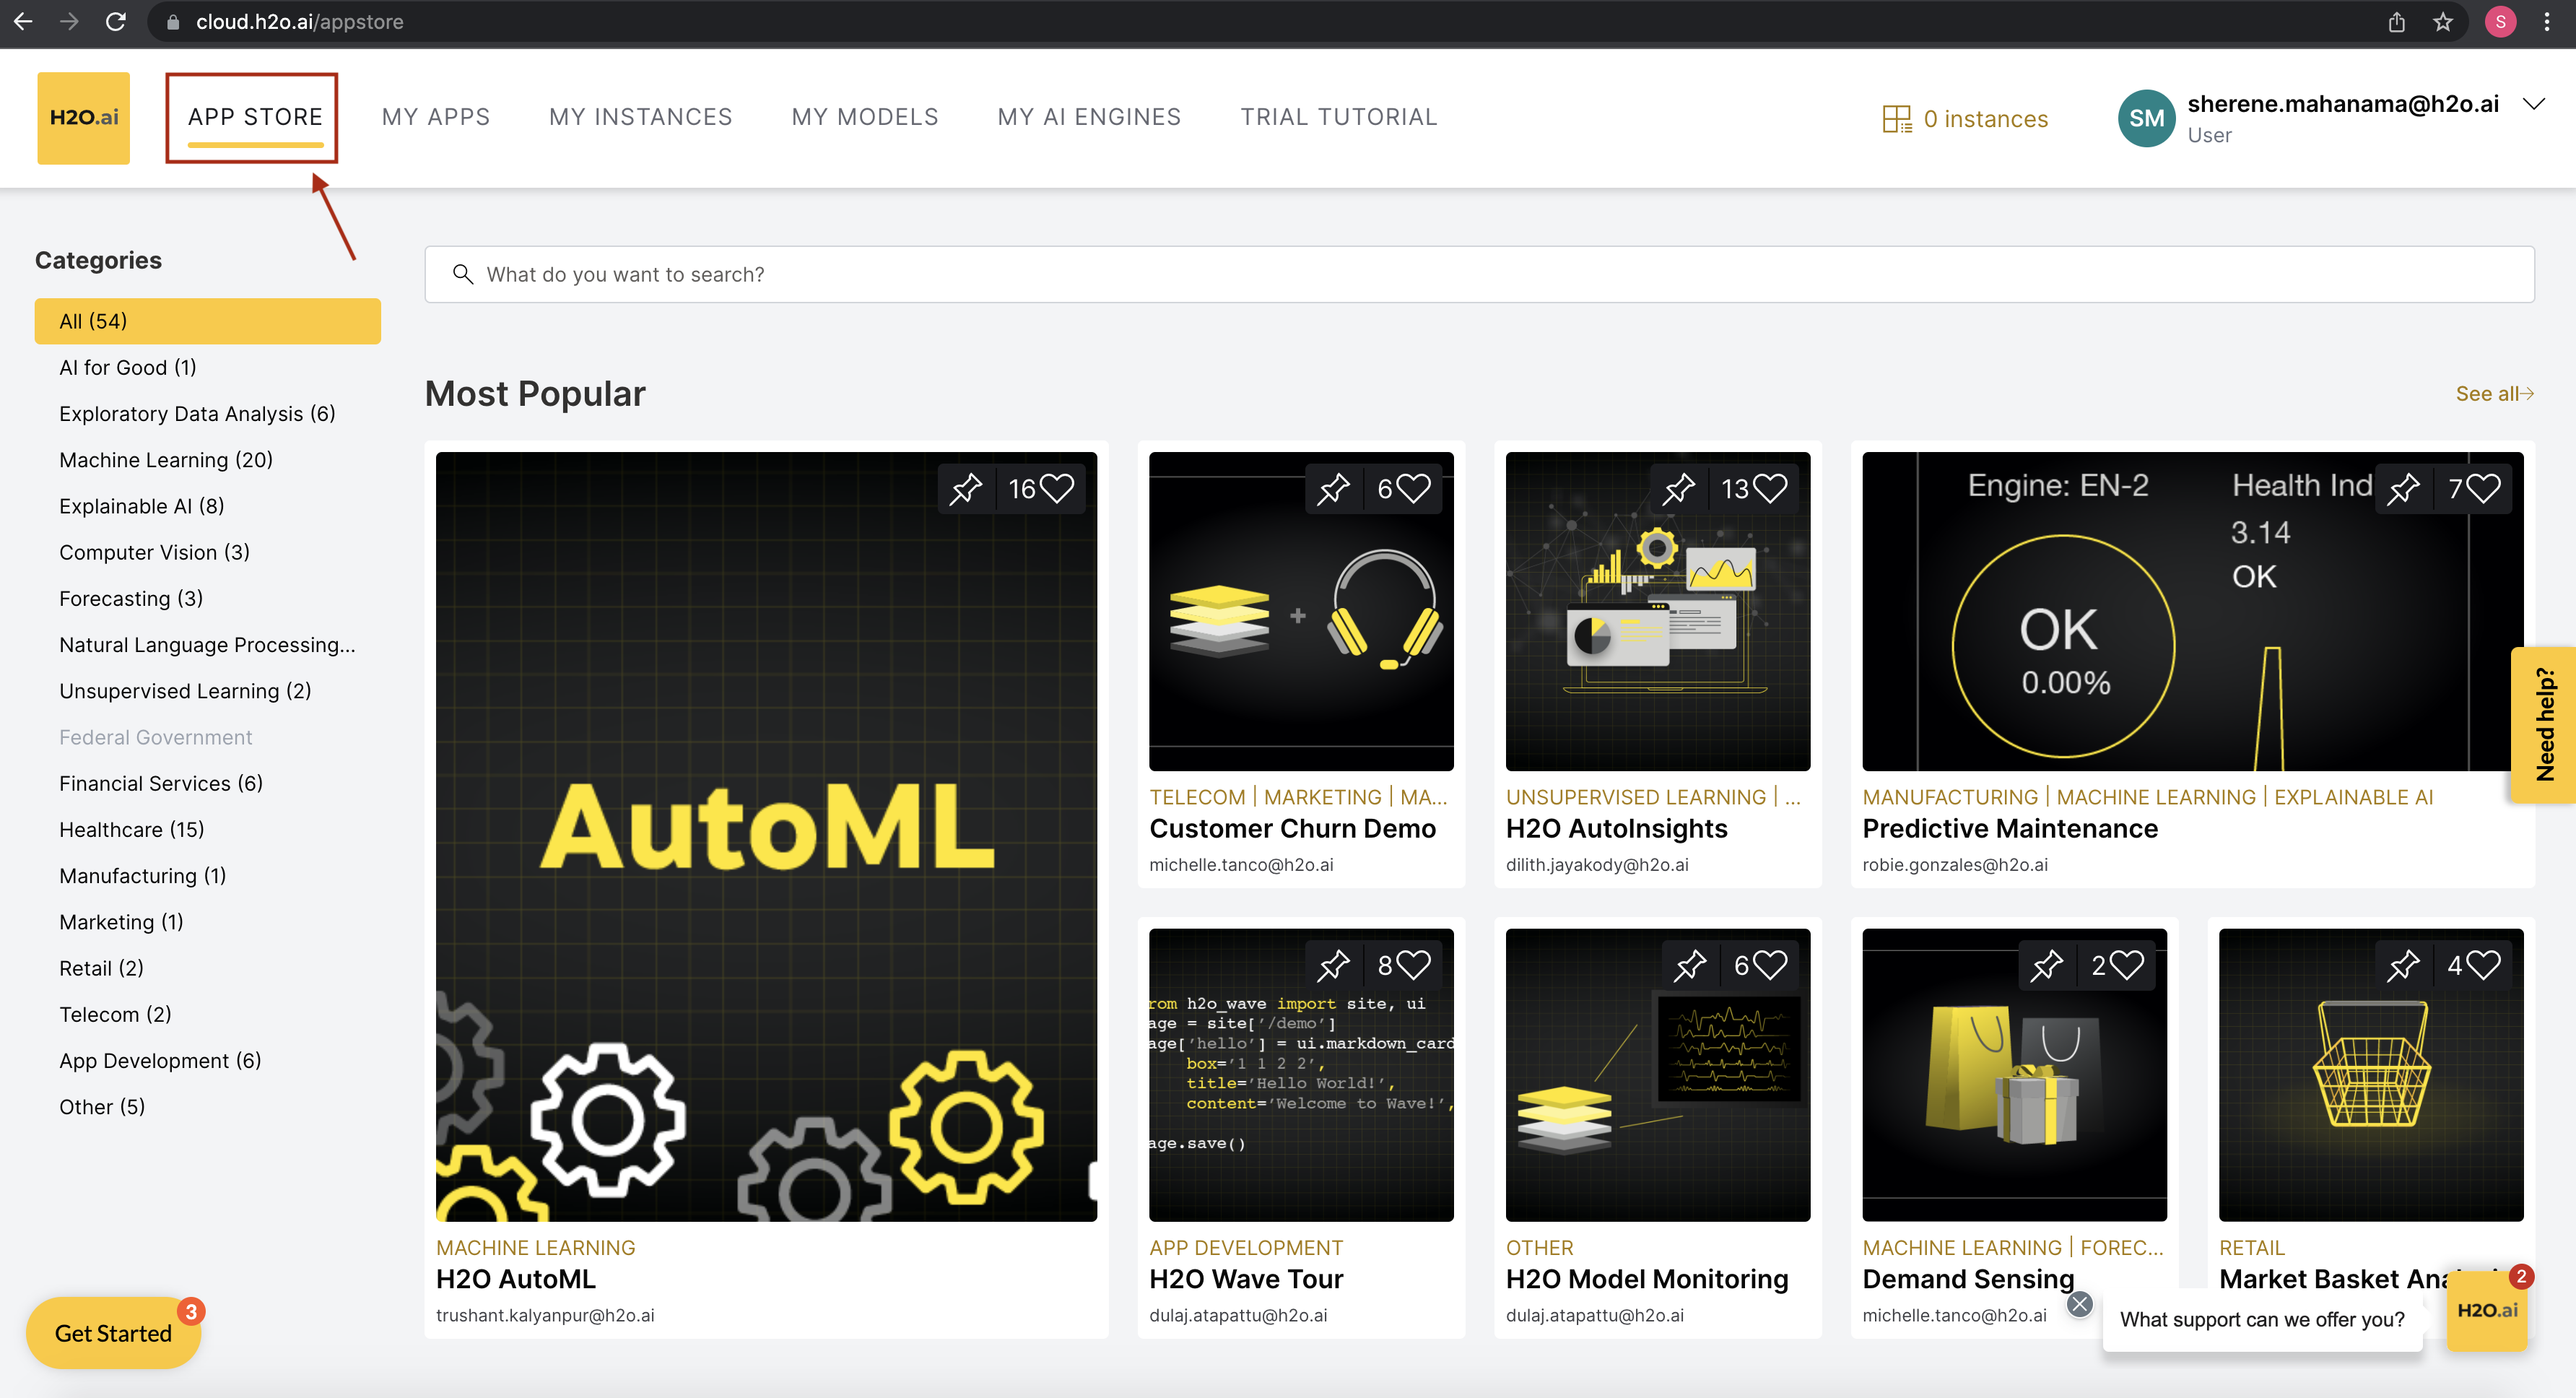
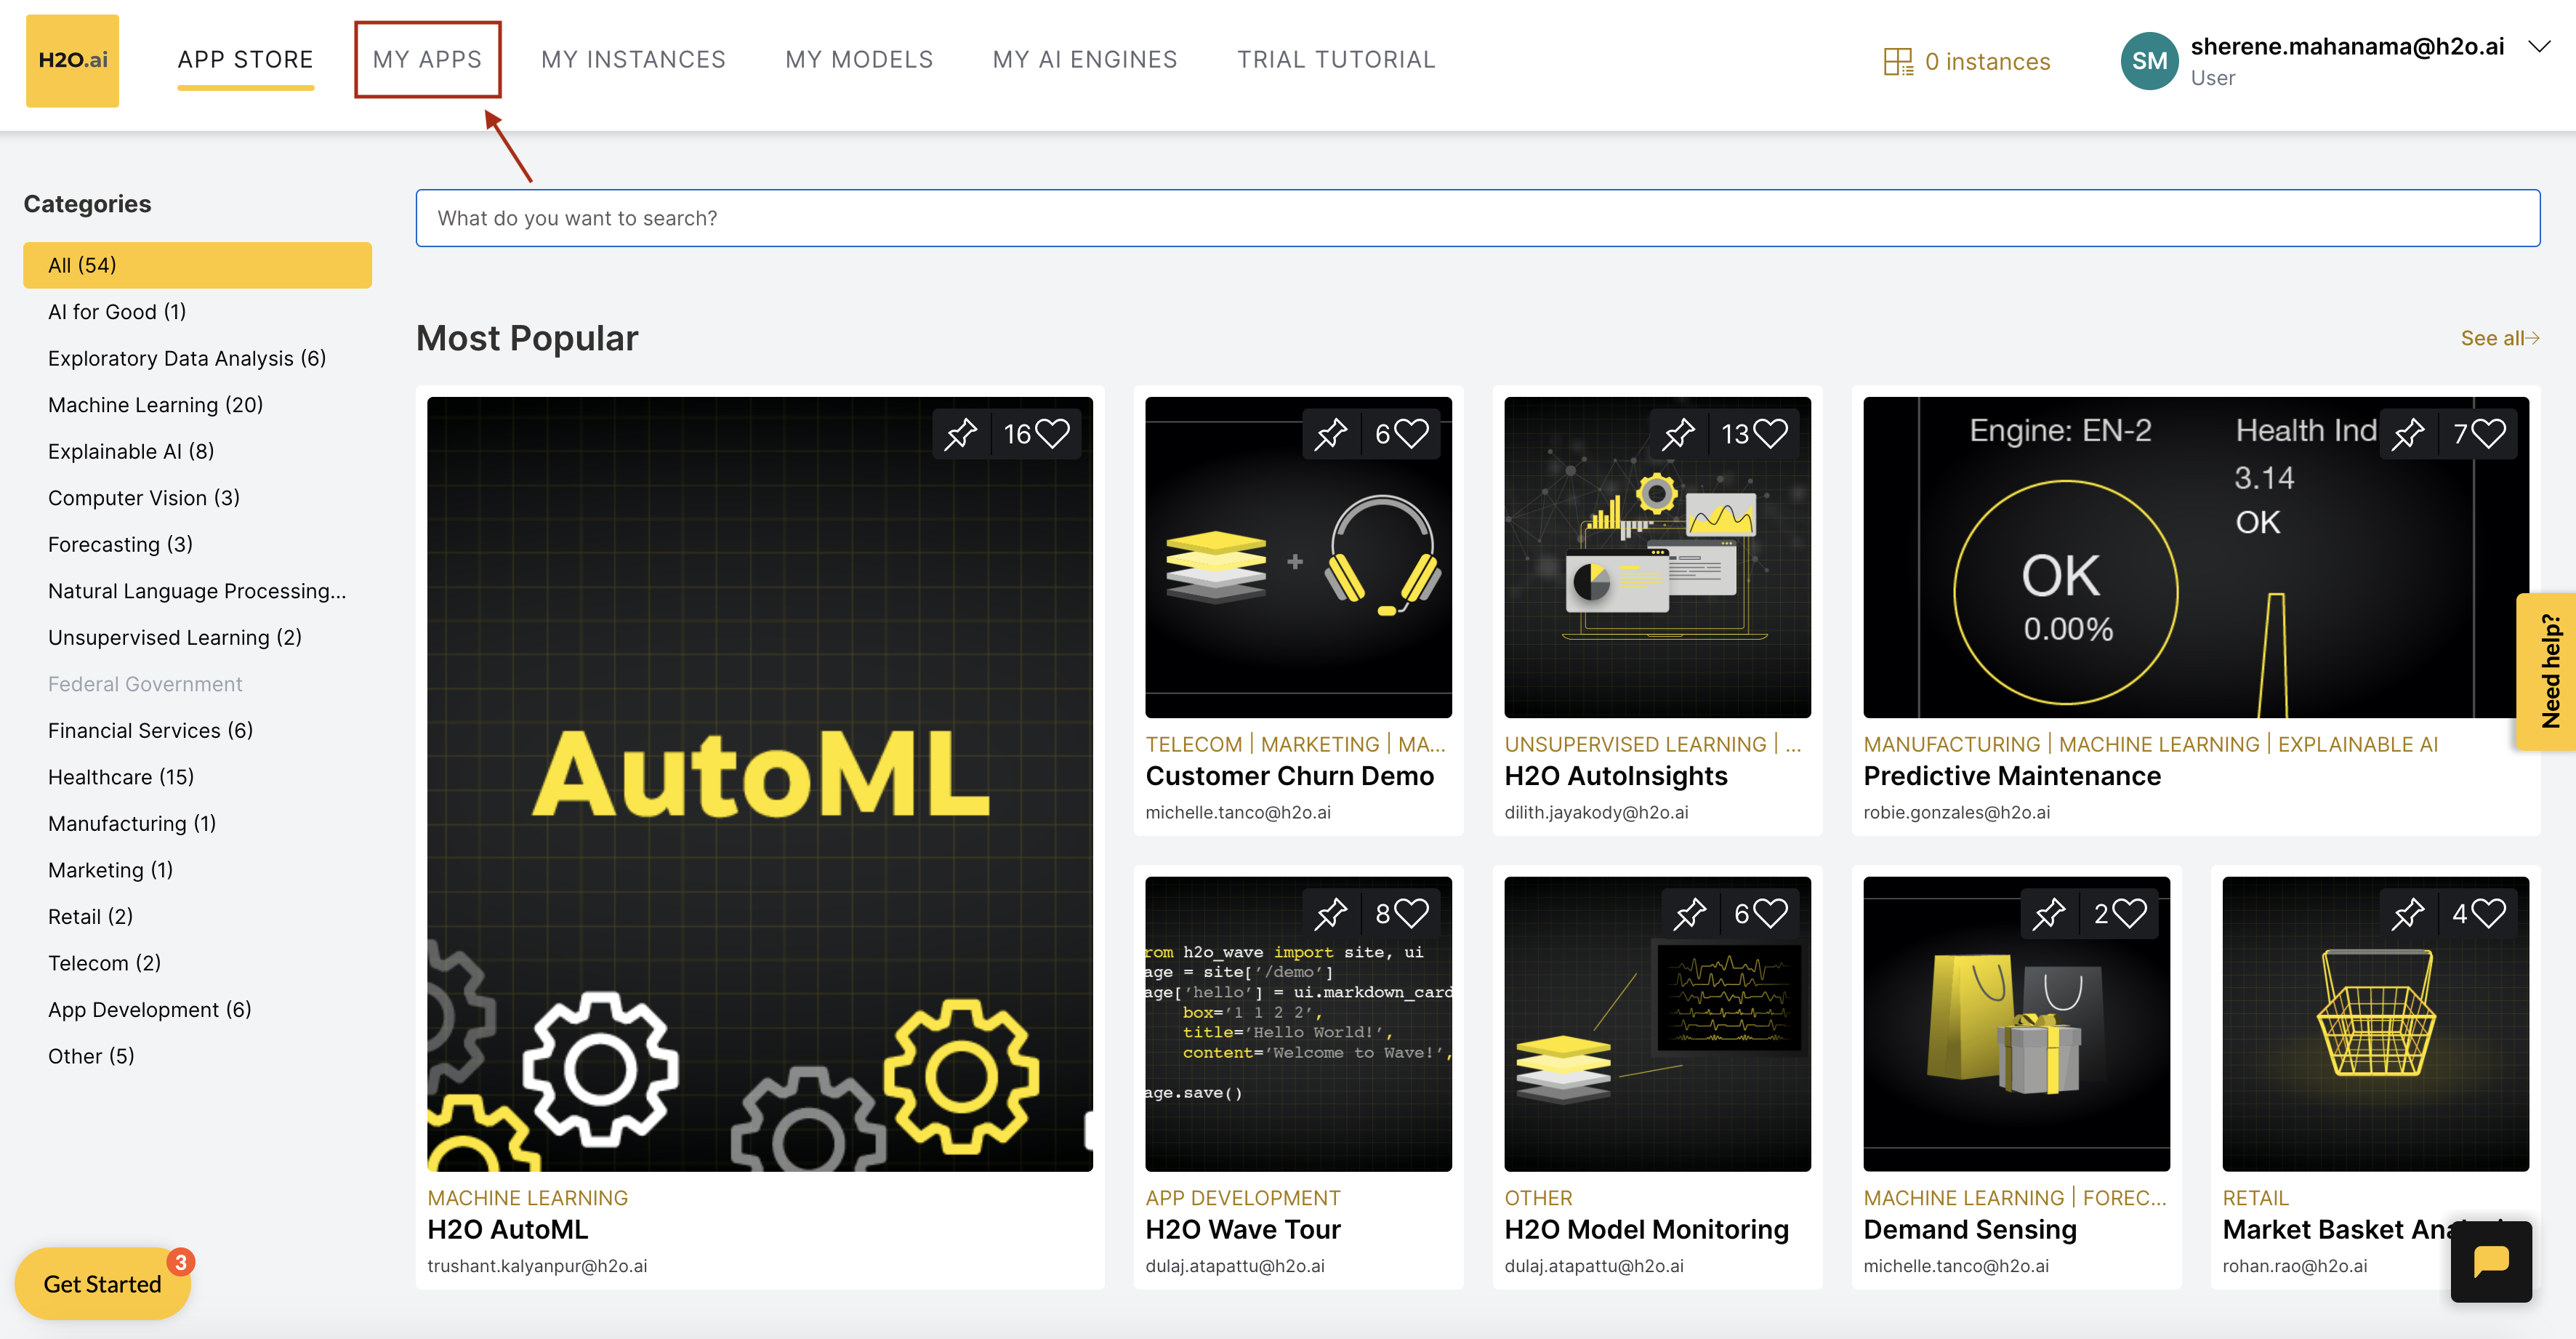
Click MY APPS on the H2O AI Cloud home page.
-
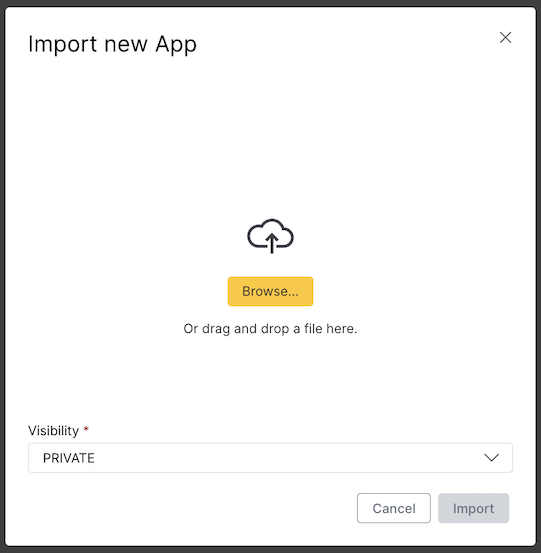
Click Import App. You will be prompted to upload your application as a .zip file.
-
You can open up the folder that contains your application source code and compress the folder into a
.zipfile. If you are using MacOS, select the relevant files and folders that you wish to compress individually instead of selecting and compressing the entire /root folder. For example: note
noteAlternatively, you can compress your app files and folders and create an app bundle. Navigate to your app's root directory and run
h2o bundle(you do not need to have configured the H2O CLI to run this command). -
Upload the .zip file that you just created and select the required Visibility for the app. You can select
PRIVATEwhen first uploading the app to do some light testing before publishing it to other users.-
PRIVATE: This setting makes the app visible to only you (the app owner). The app will not be visible or searchable on the App Store. -
ALL_USERS: This setting makes the app visible on the app store to all users.
Once the app is imported, you will see it listed on the MY APPS page. This page will list all the applications that you own. Now that the app has been imported successfully, you can update the visibility of the app from here, view/update app details, run it, or delete the app.
-
-
At this point, the app is still
PRIVATE.To publish it to all users, on the MY APPS page, click Visibility.
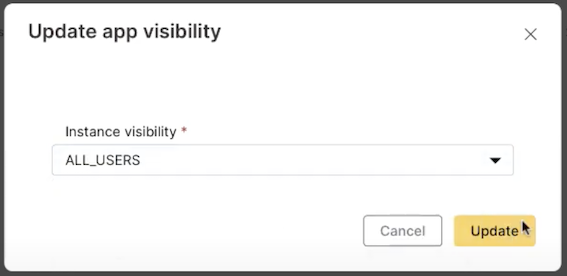
-
Select
ALL_USERSand click Update. -
Next, click on APP STORE on the top navigation pane.
You will see that your app is now published on the App Store page and is ready to be used!
App Deprecation
We consider an app or a version of an app as 'deprecated' when the developers discourage its use because it leads to errors or new versions of the particular app exist.
The owner of the app can't delete an app version if there are running instances. Our process is to make the old app version private, so the users will not be able to launch new instances. Then eventually, the old app version will get deleted as there are no more instances.
Summary
This tutorial walked you through:
- Setting up your Wave or Python application bundle
- Importing and publishing an app using the H2O CLI (recommended option)
- Importing and publishing an app using the App Store GUI (alternative option)
You can also check out the following blog post and documentation for more information.
- (Blog) Setting Up Your Local Machine for H2O AI Cloud Wave App Development
- (Documentation) Wave Get Started Tutorial
- Submit and view feedback for this page
- Send feedback about AI App Store to cloud-feedback@h2o.ai