Manage a Driverless AI Engine
This guide covers all aspects of managing your Driverless AI Engine through the H2O AI Cloud interface.
Overview
Once you've created a Driverless AI Engine, you can perform various management operations:
- Access the Engine: Launch and interact with your Driverless AI instance
- Control Engine State: Pause, resume, and manage engine lifecycle
- Monitor Operations: View logs and track engine performance
- View Configuration: Access detailed engine specifications and settings
- Manage Resources: Update engine configurations as needed
- Clean Up: Delete engines when no longer needed
Access Your Driverless AI Engine
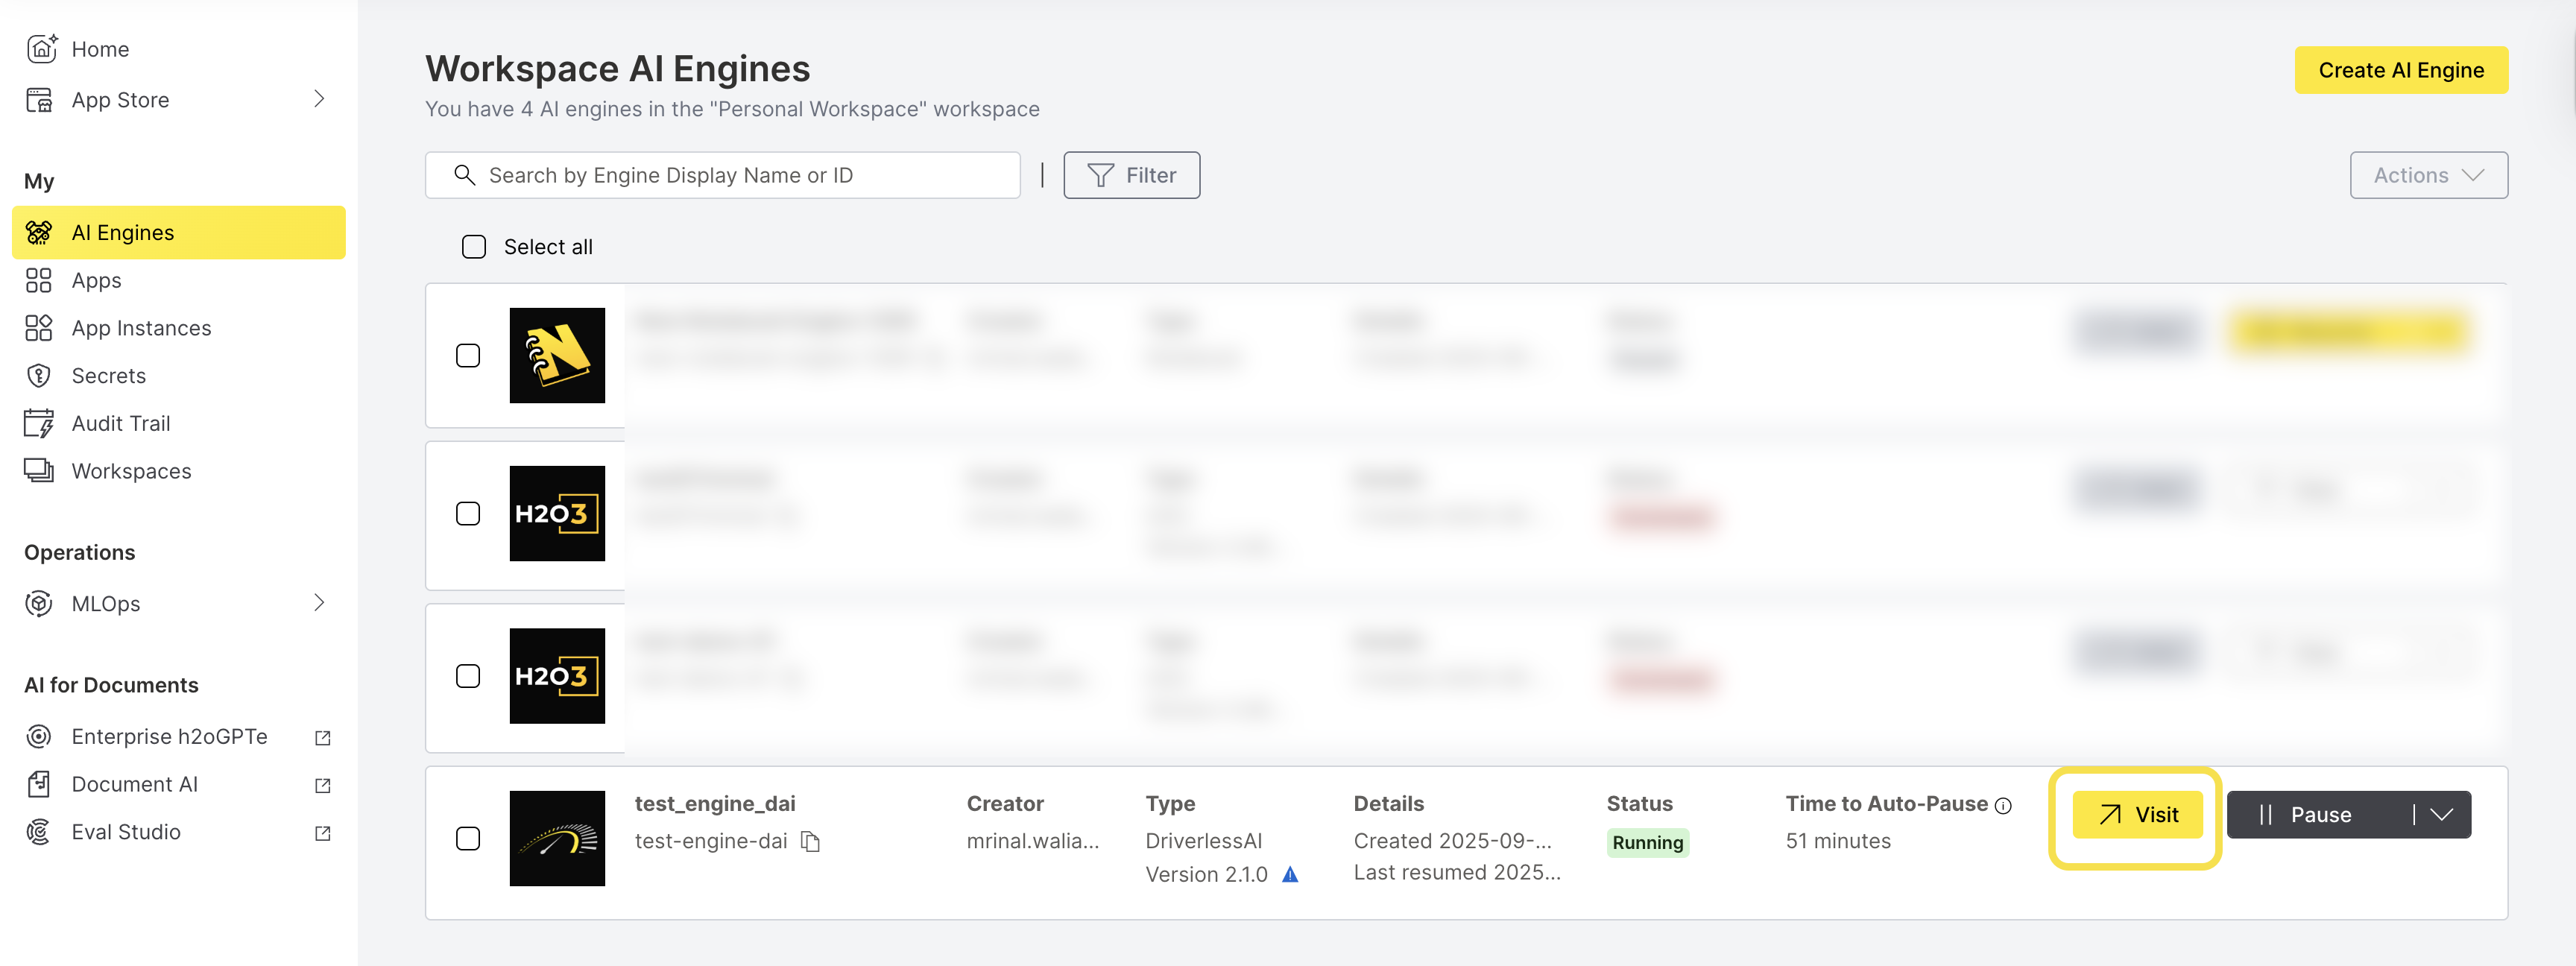
Step 1: Navigate to AI Engines
- From the H2O AI Cloud dashboard, click AI Engines in the left navigation.
- Locate your Driverless AI Engine in the engines list.
Step 2: Launch the Engine
- Click Visit to launch the Driverless AI Engine interface.
This opens the H2O Driverless AI home page in a new web browser window where you can:
- Upload and prepare your datasets
- Build automated machine learning models
- Interpret and analyze model results
- Export models for deployment
For detailed guidance on building models using Driverless AI, see the Build a model section in the H2O AI Cloud documentation.
Control Engine State
Pause a Driverless AI Engine
Pausing an engine temporarily stops all operations and helps optimize costs when the engine is not actively being used.
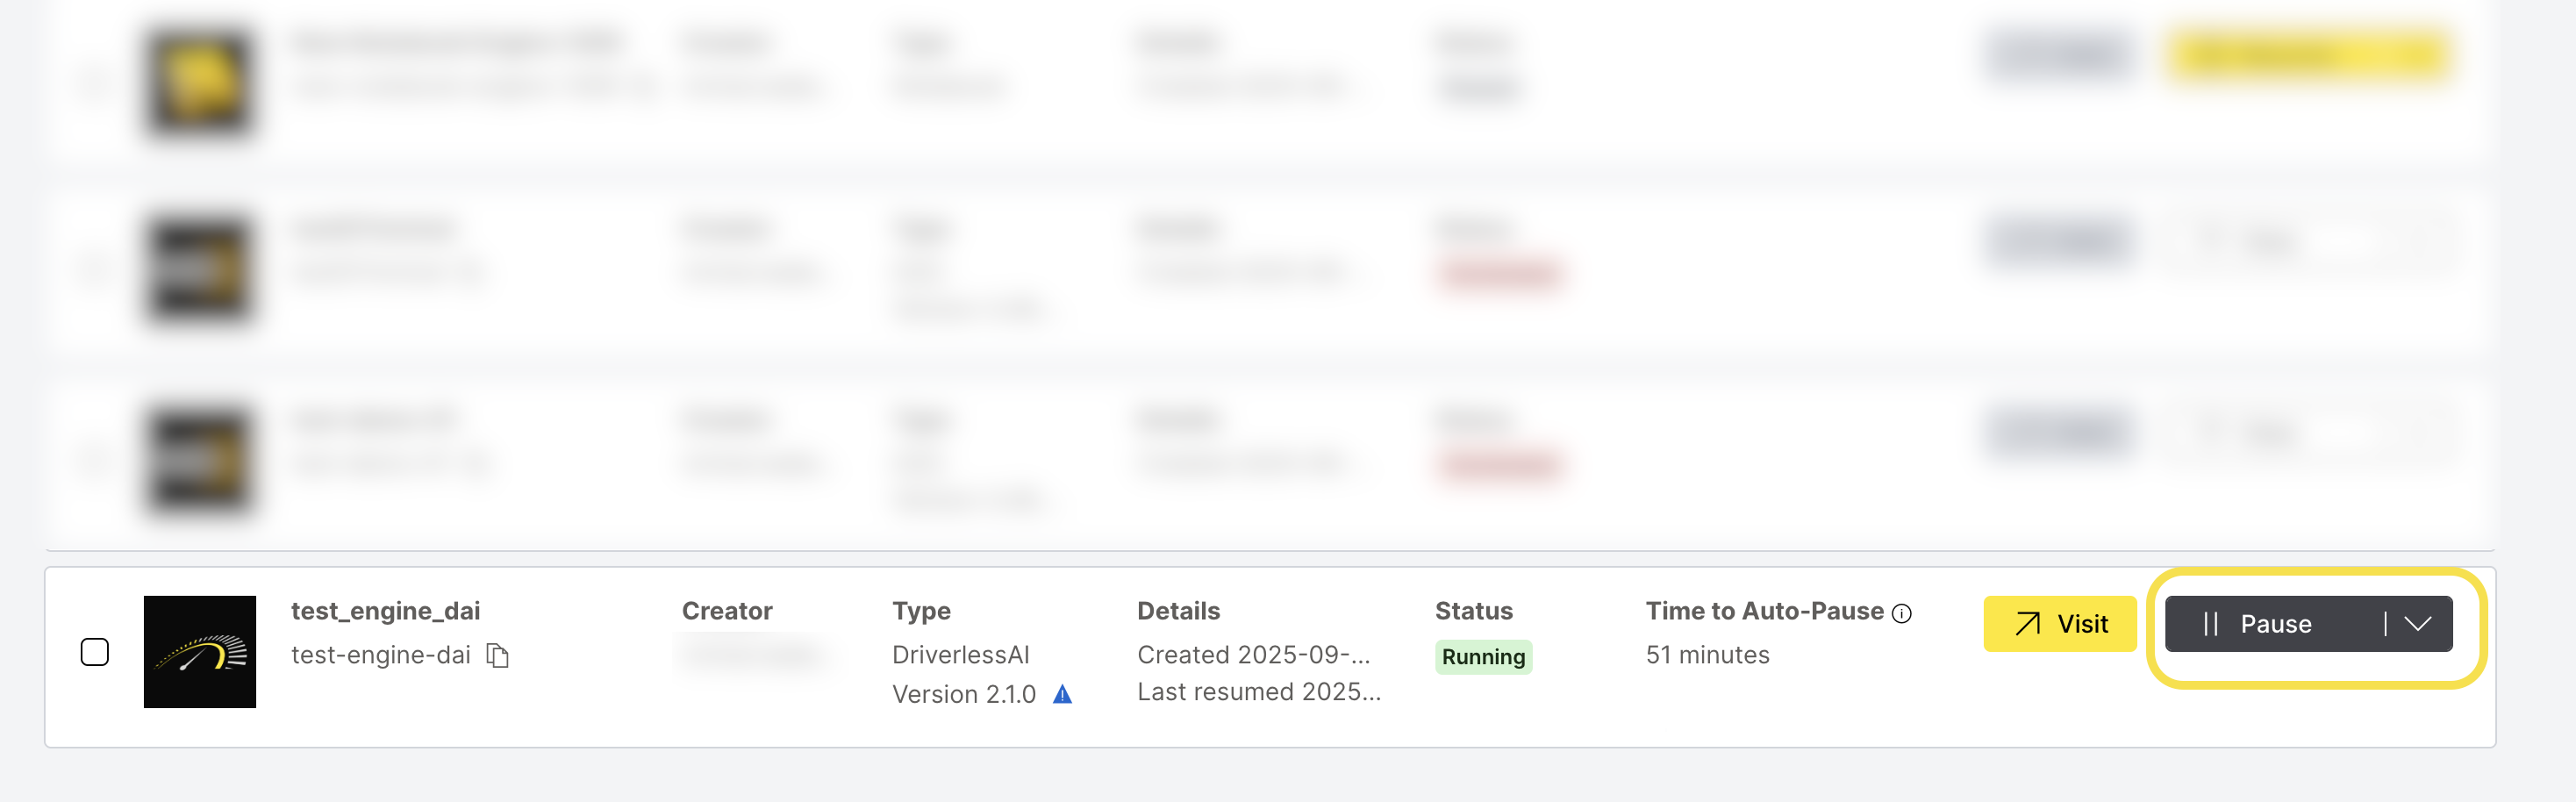
Step 1: Initiate Pause
- From the AI Engines list, locate your running Driverless AI Engine.
- Click Pause to initiate the pause operation.
Step 2: Confirm Pause Operation
- Review the pause confirmation dialog.
- Click Pause to confirm the engine pausing operation.
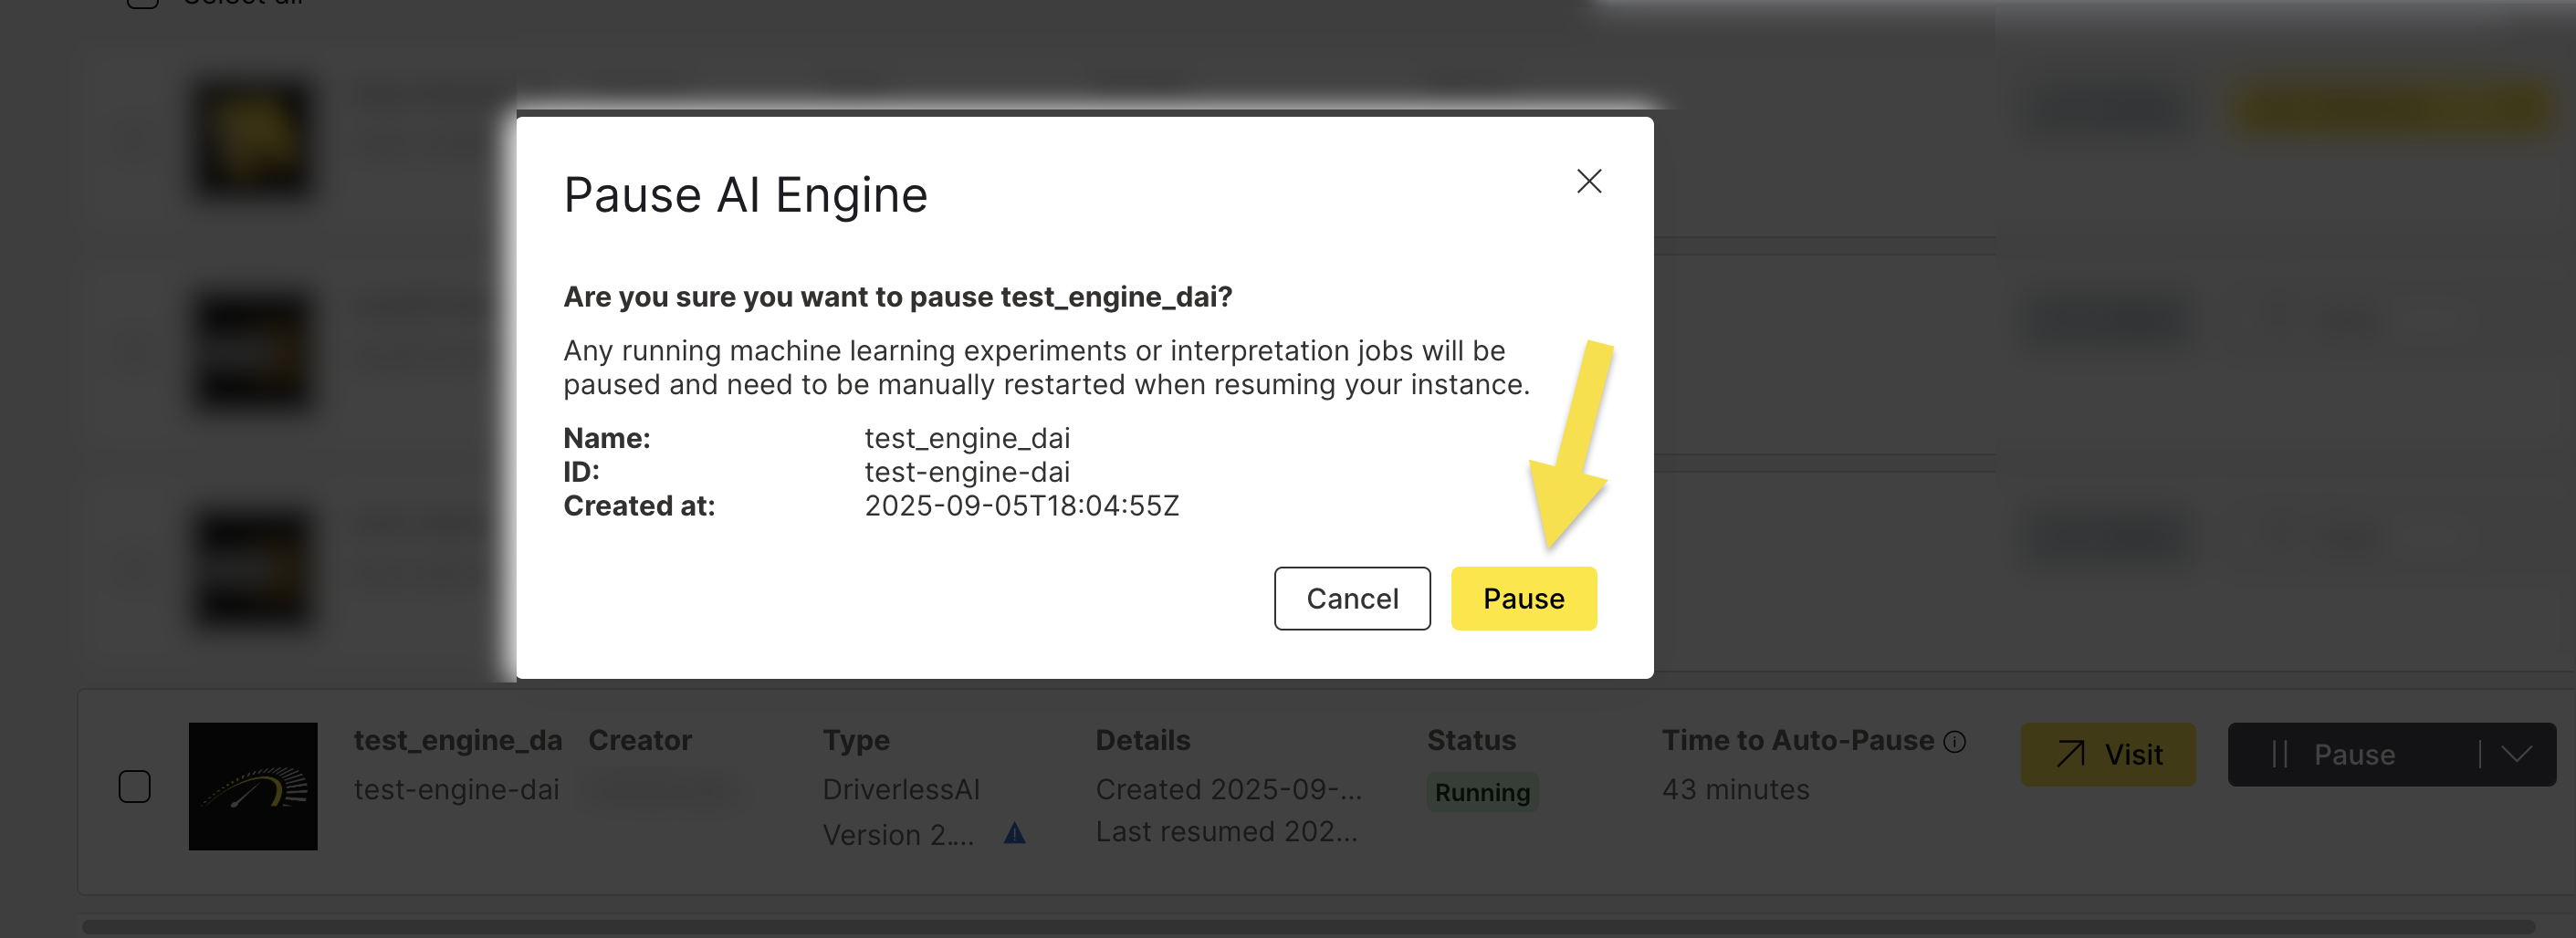
- Running jobs: All active machine learning experiments and interpretation jobs will be paused
- Data persistence: Your data and model artifacts remain intact
- Manual restart: You'll need to manually restart experiments when resuming the engine
- Cost optimization: Pausing reduces computational costs while preserving your work
Resume a Driverless AI Engine
Resuming an engine restarts all services and makes your Driverless AI instance available for use again.
- From the AI Engines list, locate your paused Driverless AI Engine.
- Click Resume to restart the engine.
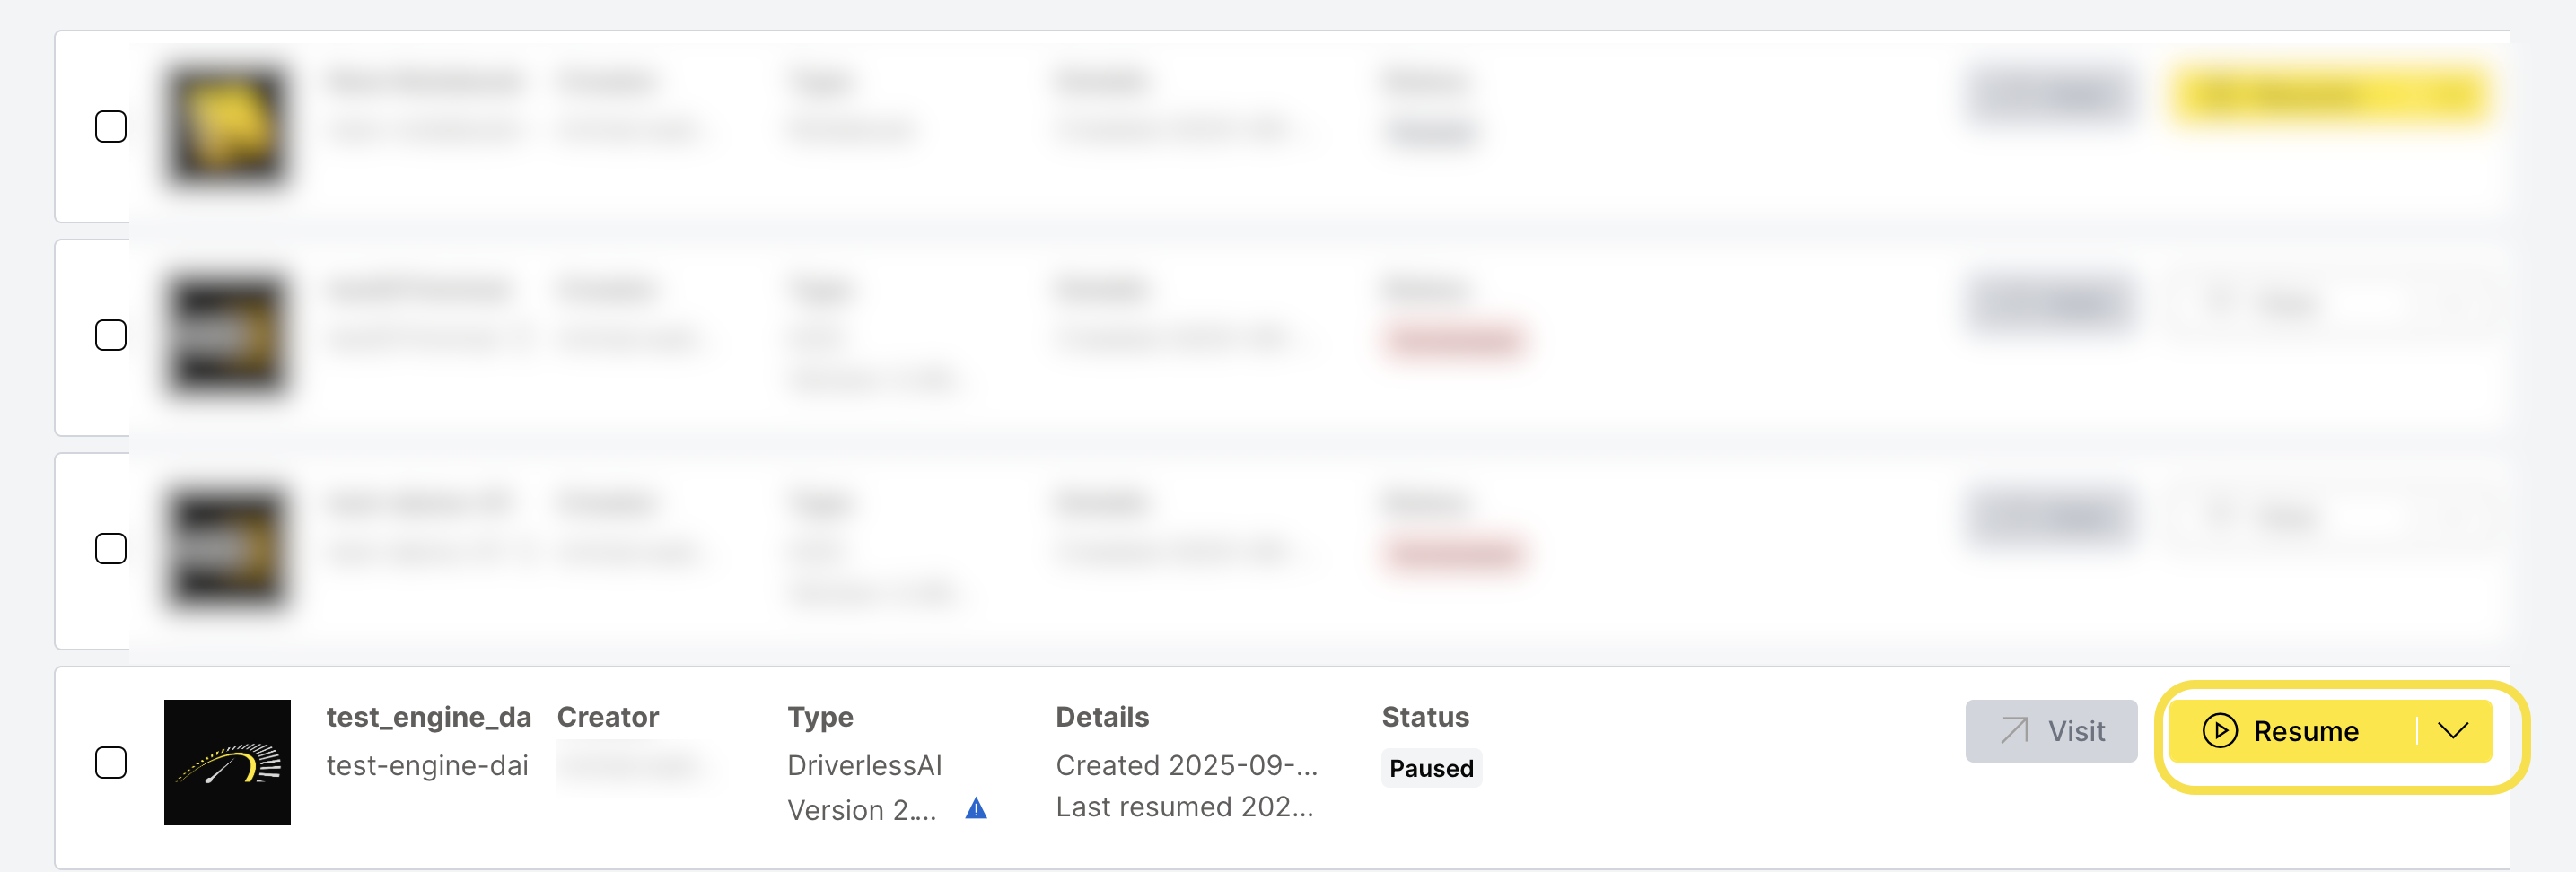
- The engine will take a few minutes to fully resume
- All services will be available once the status shows "Running"
Monitor Engine Operations
View Engine Logs
AI Engine logs provide valuable insights into engine operations, errors, and performance metrics.
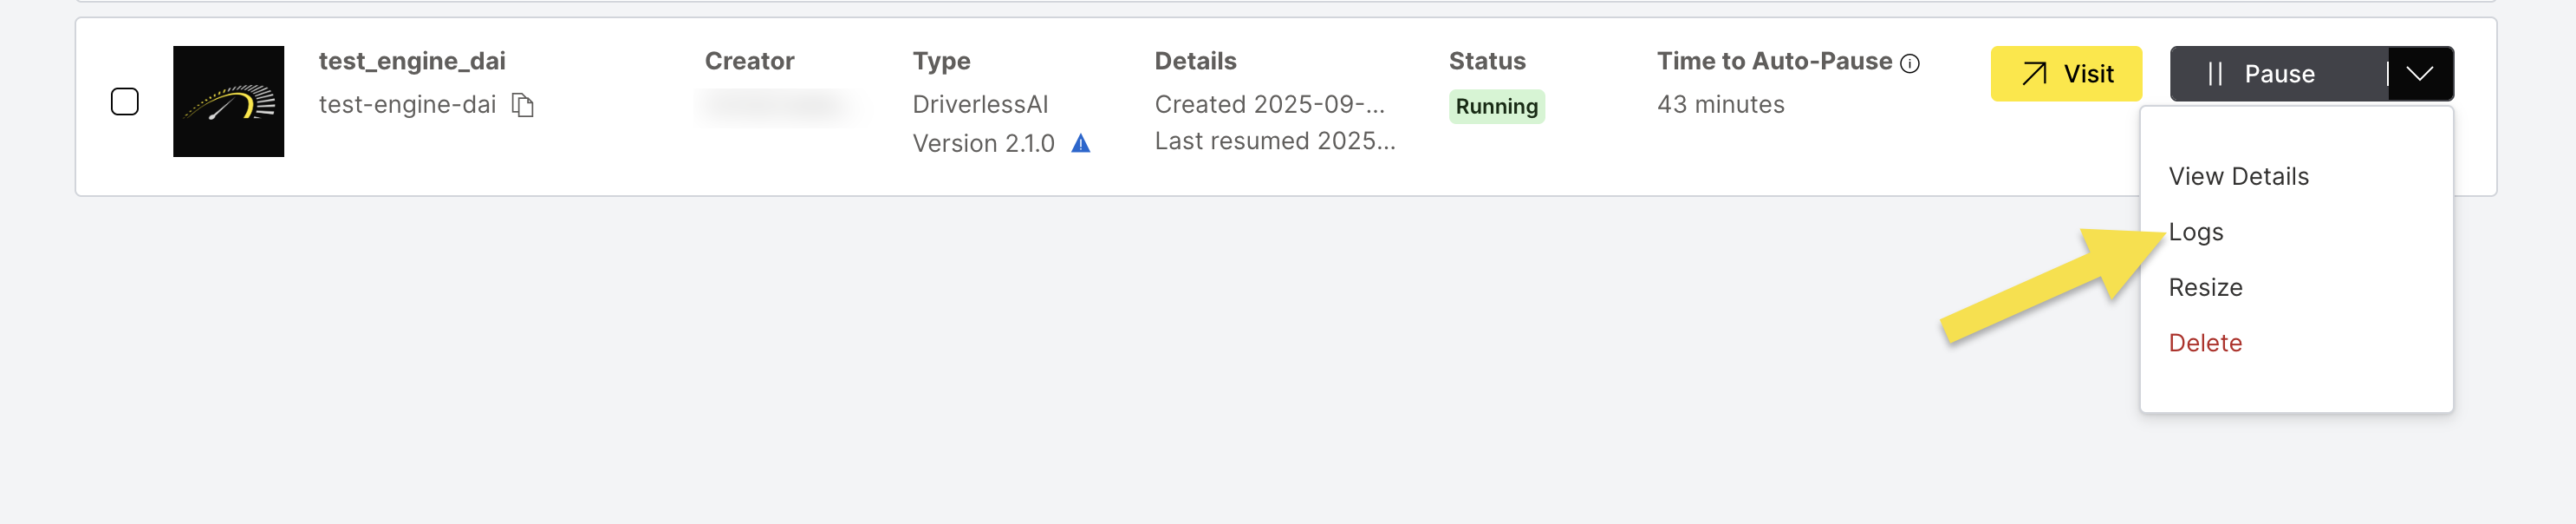
Step 1: Access Logs
- From the AI Engines list, locate your Driverless AI Engine.
- Click the Actions dropdown menu.
- Select Logs to view the engine logs.
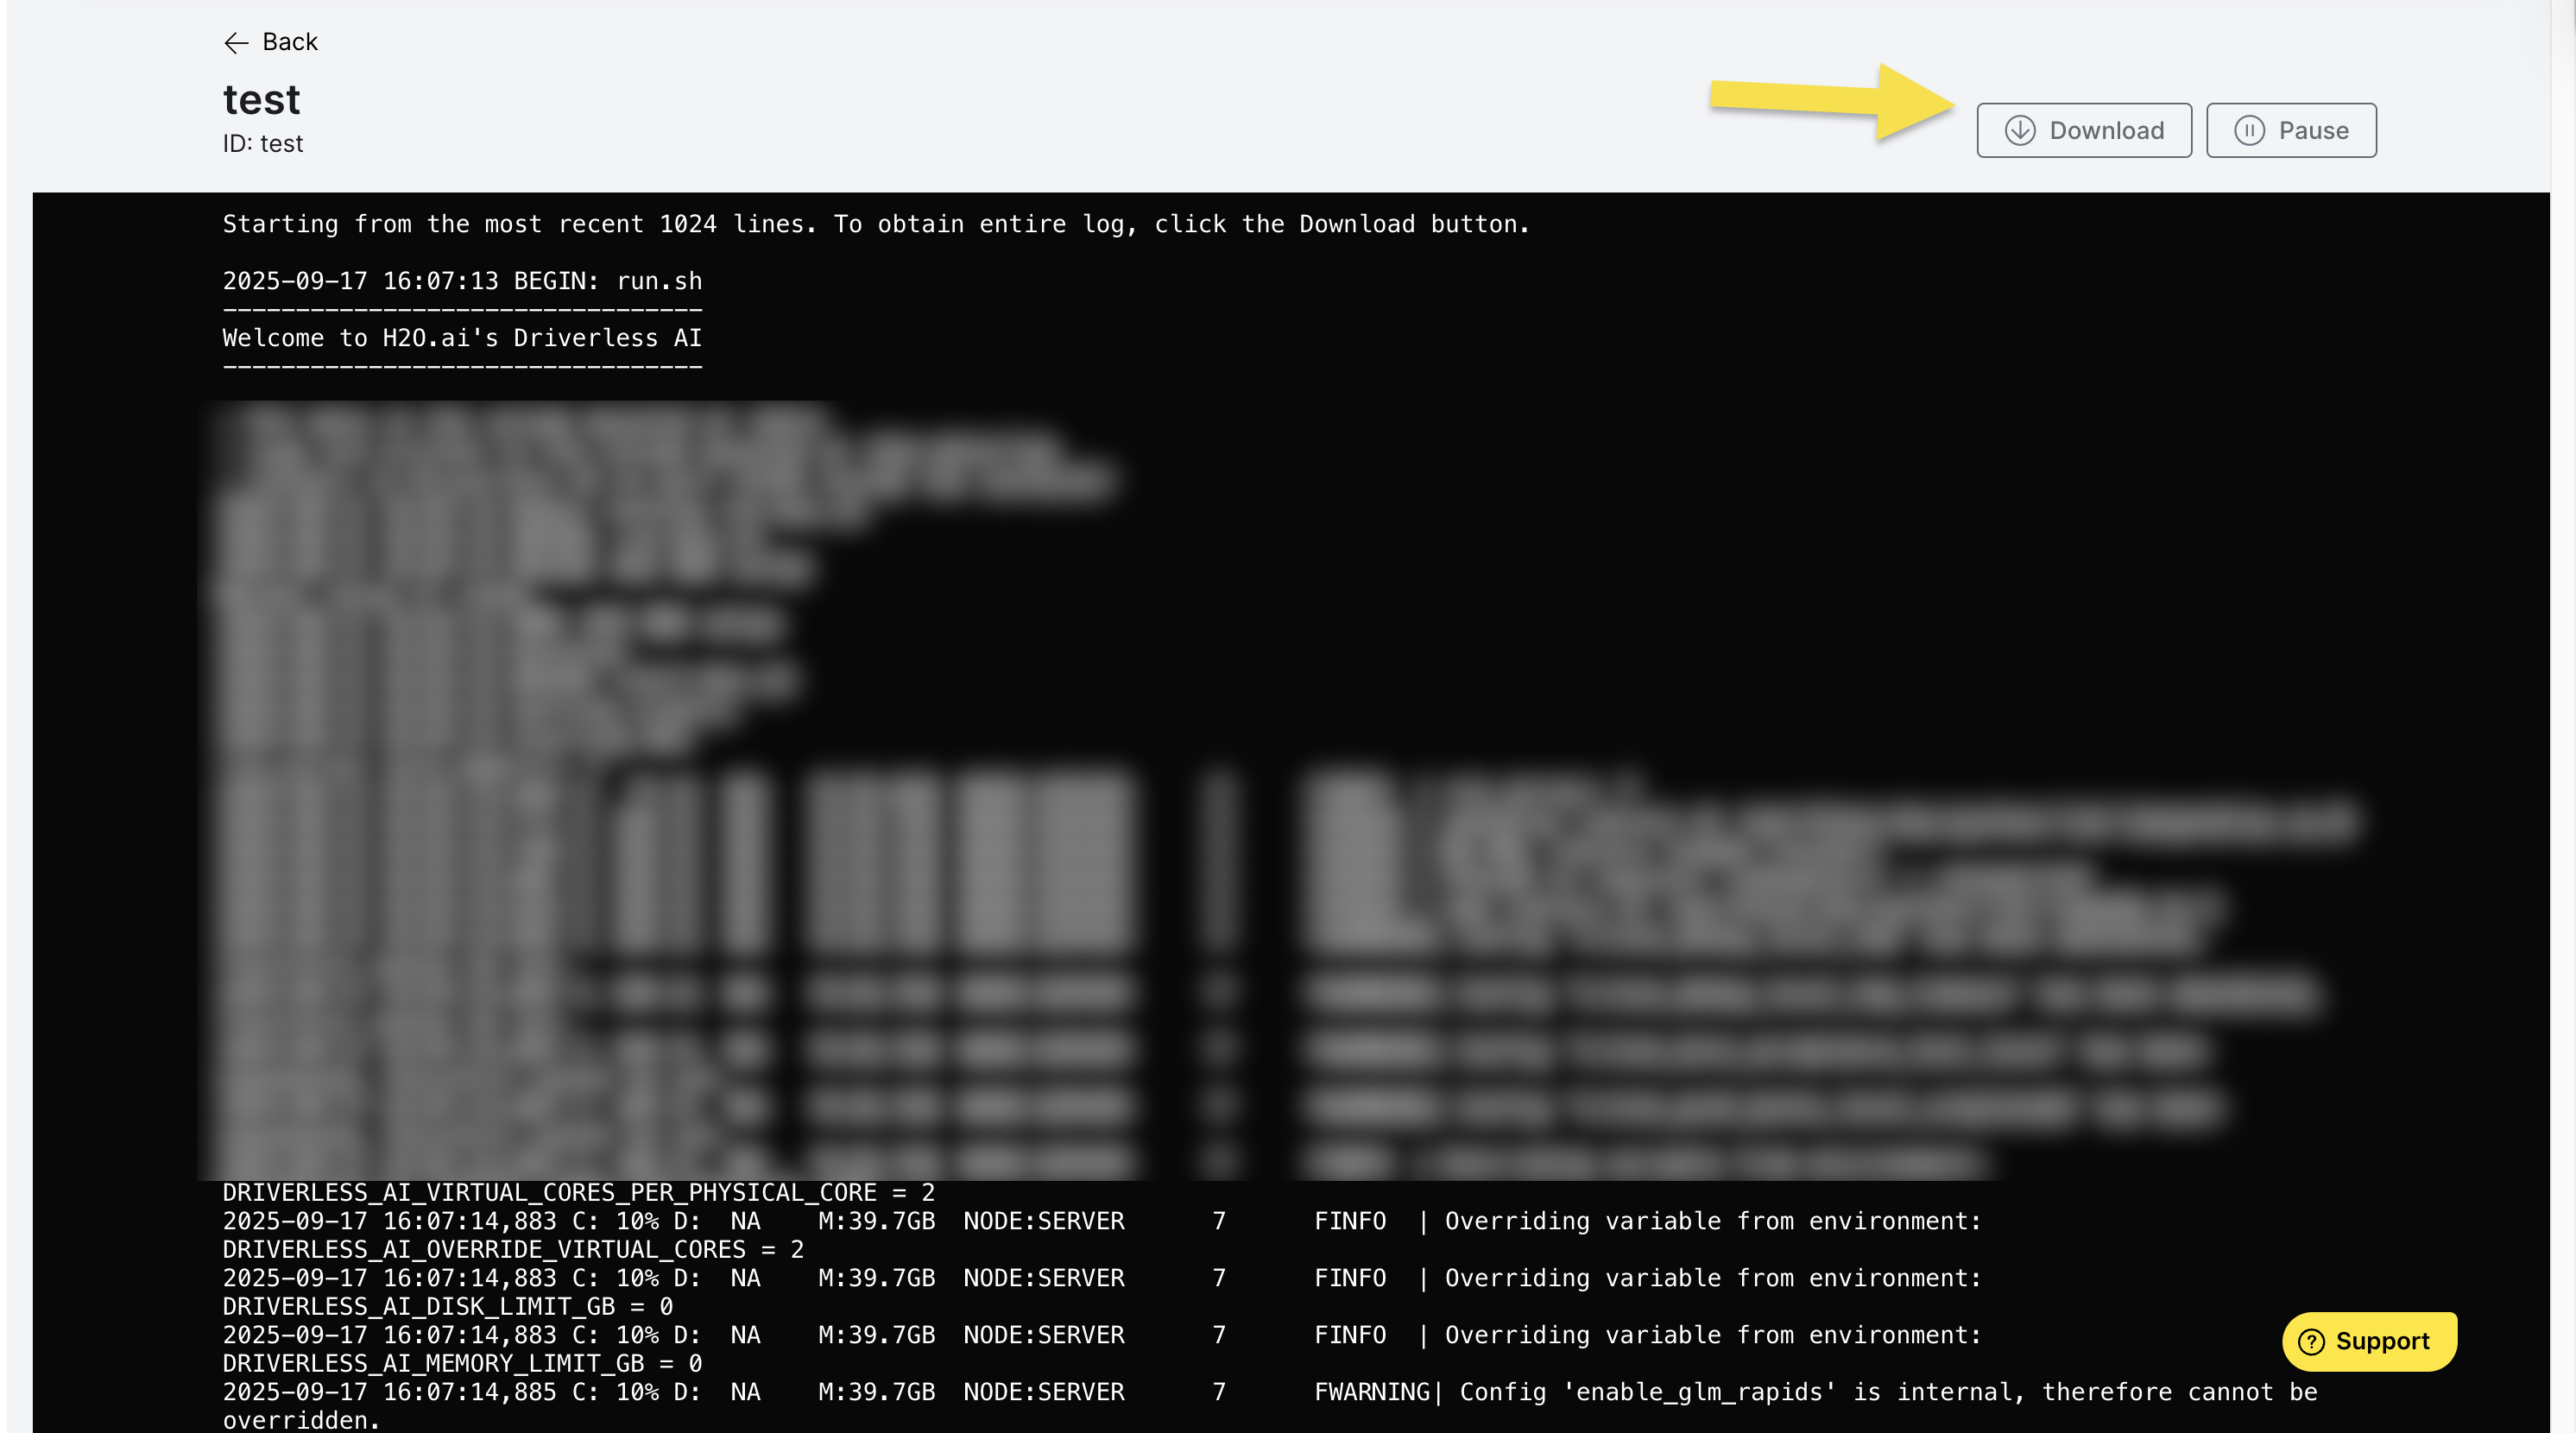
Log Management Features
The logs interface provides option to Download complete log files for offline analysis.
View Engine Configuration
Access Engine Details
View detailed information about your Driverless AI Engine configuration and status.
Step 1: Open Details View
- From the AI Engines list, locate your Driverless AI Engine.
- Click the Actions dropdown menu.
- Select View Details to access the engine information.

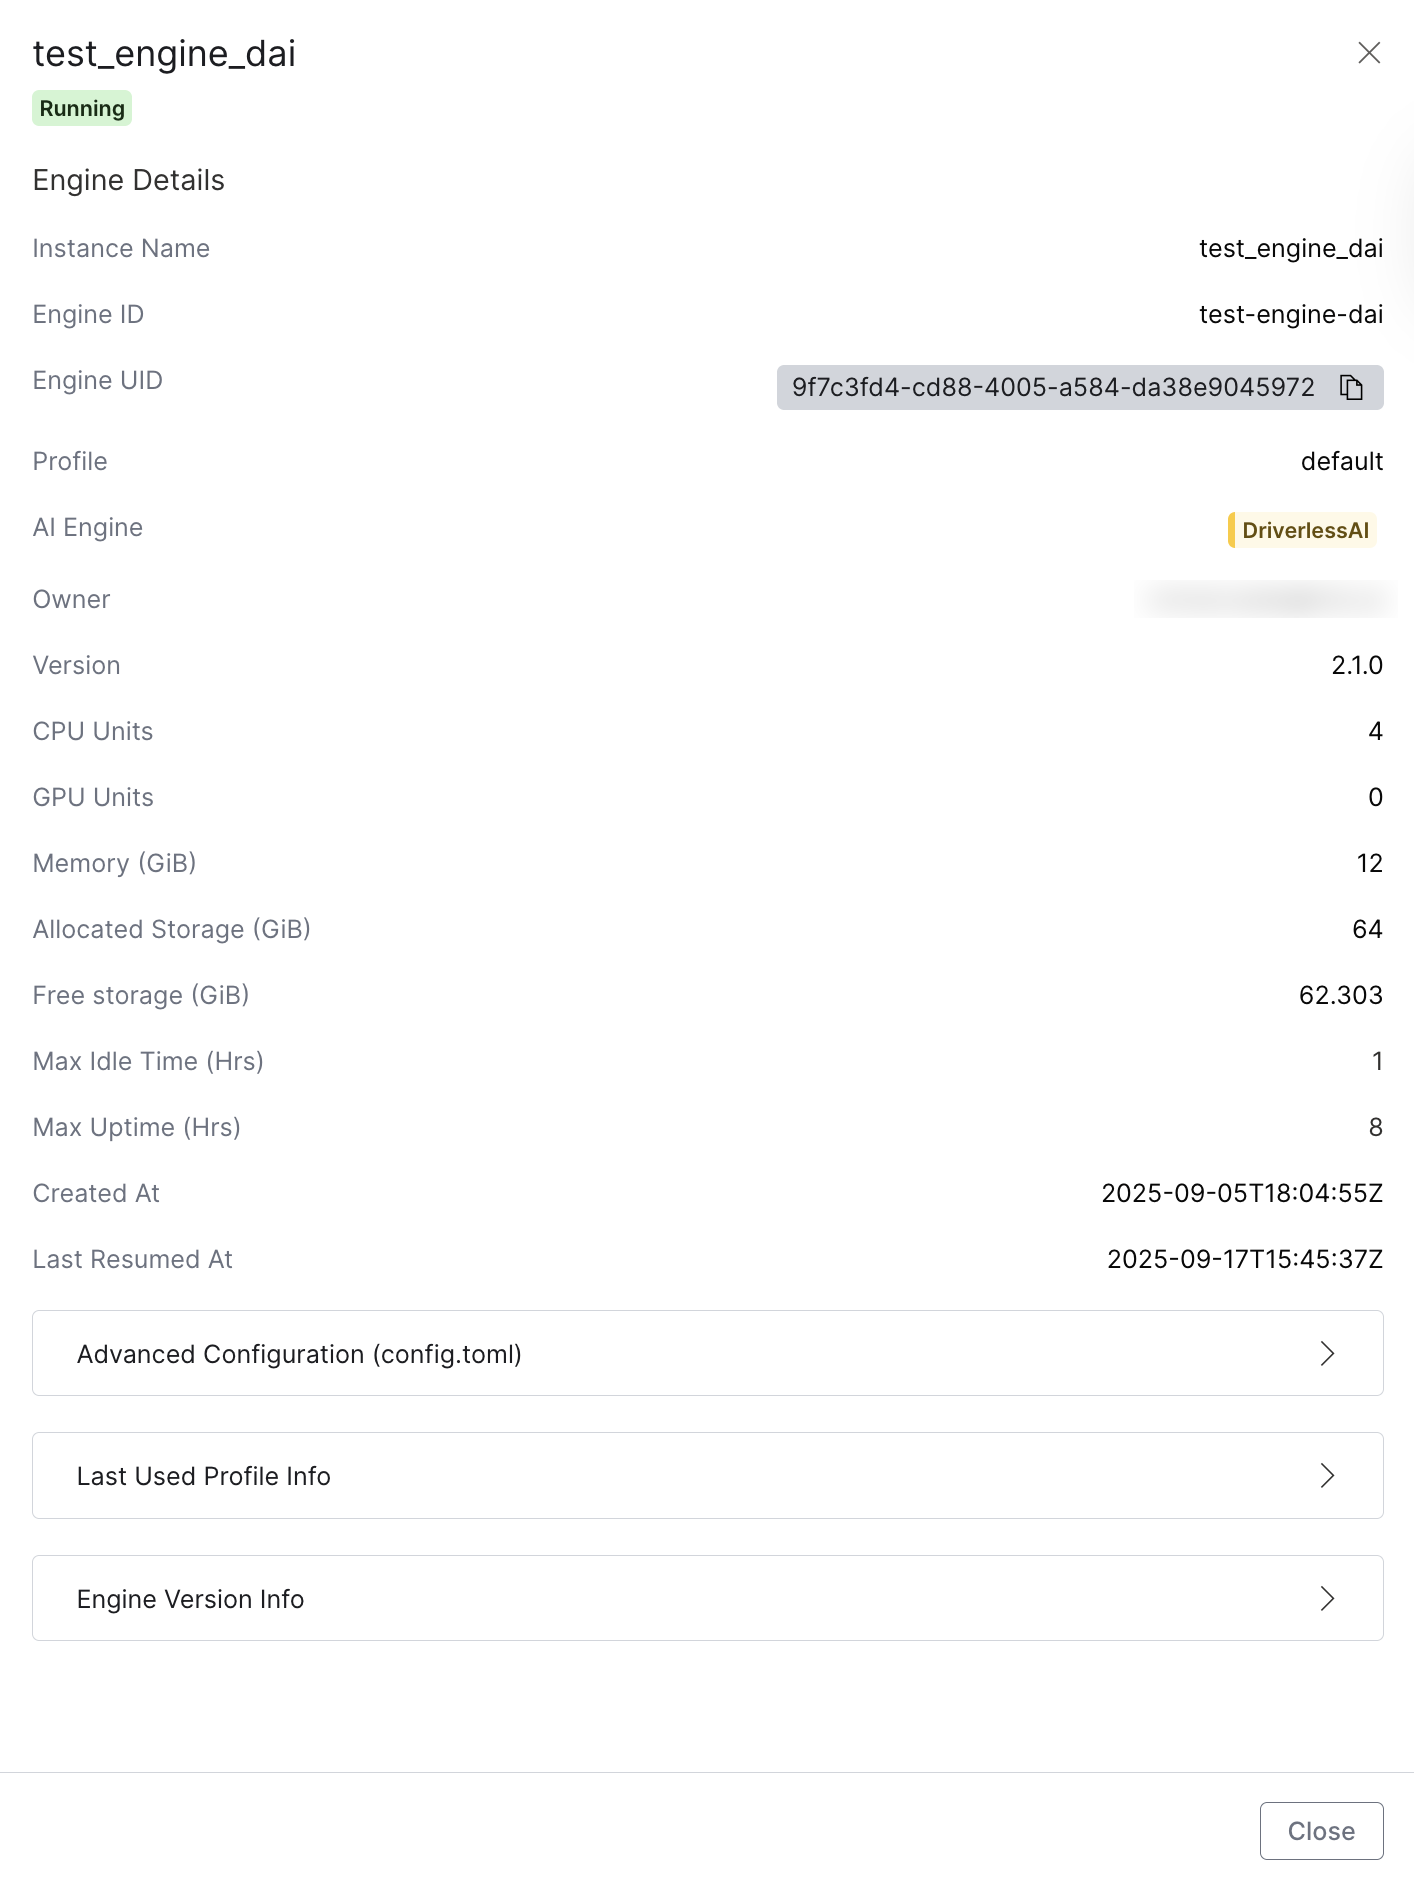
Engine Details Overview
The Engine Details tab displays comprehensive information about your engine:
| Field | Description |
|---|---|
| Instance Name | The display name of your engine instance |
| Engine ID | The unique identifier for the engine |
| Engine UID | The unique universal identifier (with copy-to-clipboard button) |
| Profile | The engine profile configuration (e.g., "default") |
| AI Engine | The type of AI engine (DriverlessAI) displayed in a tag |
| Owner | Email address of the engine creator/owner |
| Version | The Driverless AI version running on the engine |
| CPU Units | Number of CPU units allocated to the engine |
| GPU Units | Number of GPU units allocated to the engine |
| Memory (GiB) | Amount of memory allocated in gigabytes |
| Allocated Storage (GiB) | Total storage capacity allocated to the engine |
| Free Storage (GiB) | Available storage space remaining |
| Max Idle Time (Hrs) | Maximum idle time before automatic pausing |
| Max Uptime (Hrs) | Maximum uptime before automatic pausing |
| Created At | Date and time when the engine was created (ISO format) |
| Last Resumed At | Date and time of the last resume operation (ISO format) |
Additional Configuration Sections
The Engine Details tab view also includes three expandable sections:
Advanced Configuration (config.toml)
- Access to engine-specific configuration parameters
- View and modify TOML configuration settings
Last Used Profile Info
- Detailed profile configuration information including:
- Profile display name and internal name
- Enablement status and priority
- OIDC role assignments
- Resource constraints (CPU, GPU, Memory, Storage limits)
- Timeout configurations (Idle and Running duration limits)
- Additional settings like Triton enablement and config editability
- GPU Resource Name
- Yaml Pod Template Specification and GPU tolerations
- Includes system configurations like:
h2o_drive_endpoint_h2o_mlops_ui_urlhac_link_urlusage_stats_opt_ingpu_resource_name
Engine Version Info
- Version-specific details including:
- Version name and aliases
- Deprecation status
- Docker image information with copy functionality
- Image pull policy and secrets
- Creation metadata (creator and date)
Delete a Driverless AI Engine
Deleting an engine permanently removes it and all associated data. This action cannot be undone.
Warning: Deleting a Driverless AI Engine will permanently remove:
- All engine configurations and settings
- All datasets and model artifacts
- All experiment history and results
- All logs and audit information
Ensure you have backed up any important data before proceeding.
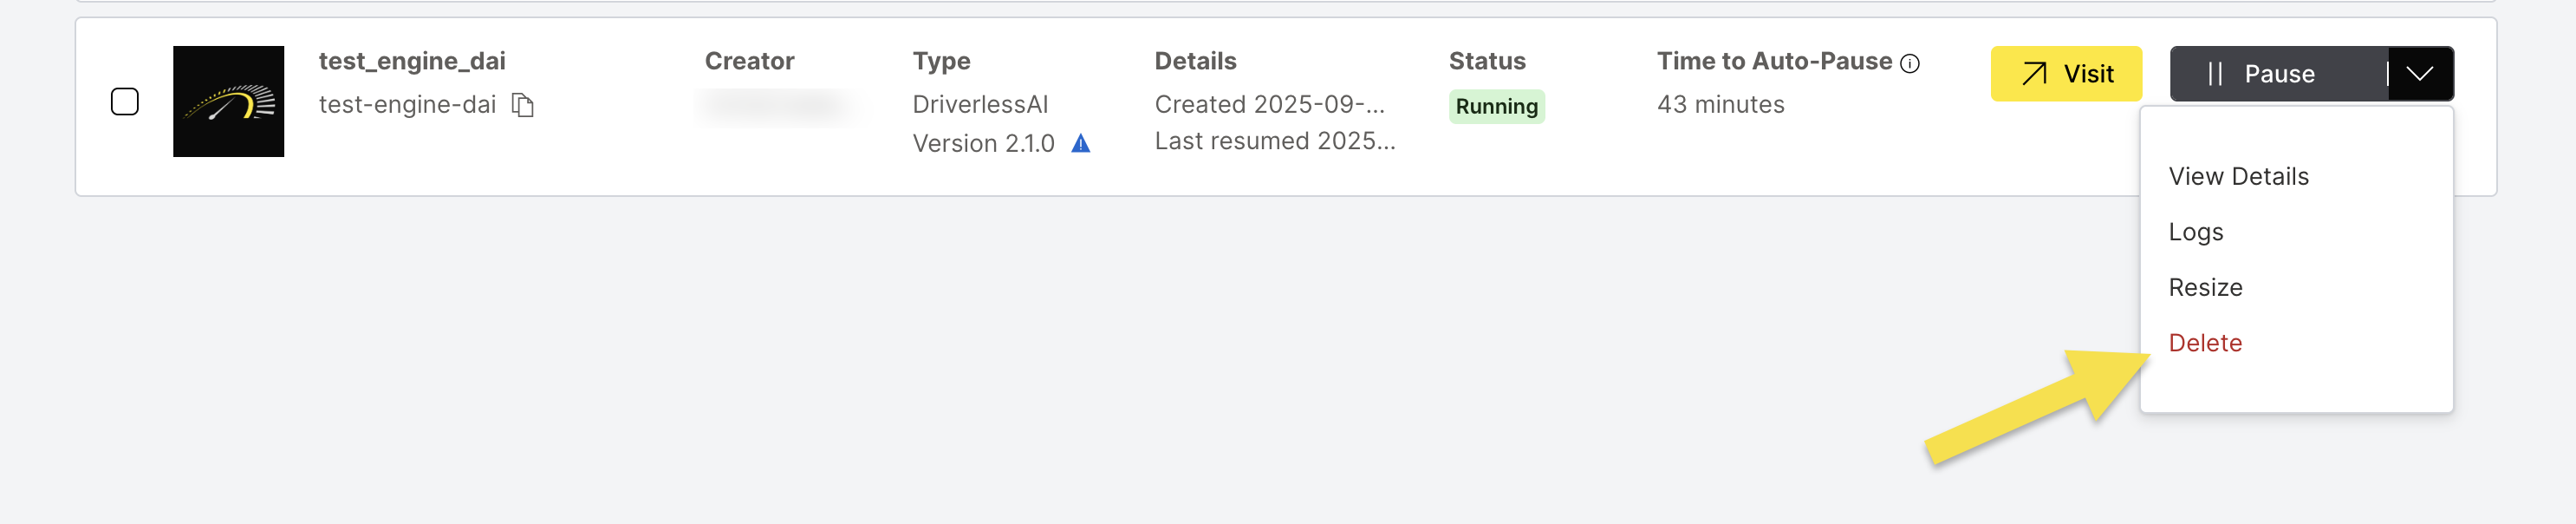
Step 1: Initiate Deletion
- From the AI Engines list, locate your Driverless AI Engine.
- Click the Actions dropdown menu.
- Select Delete to initiate the deletion process.
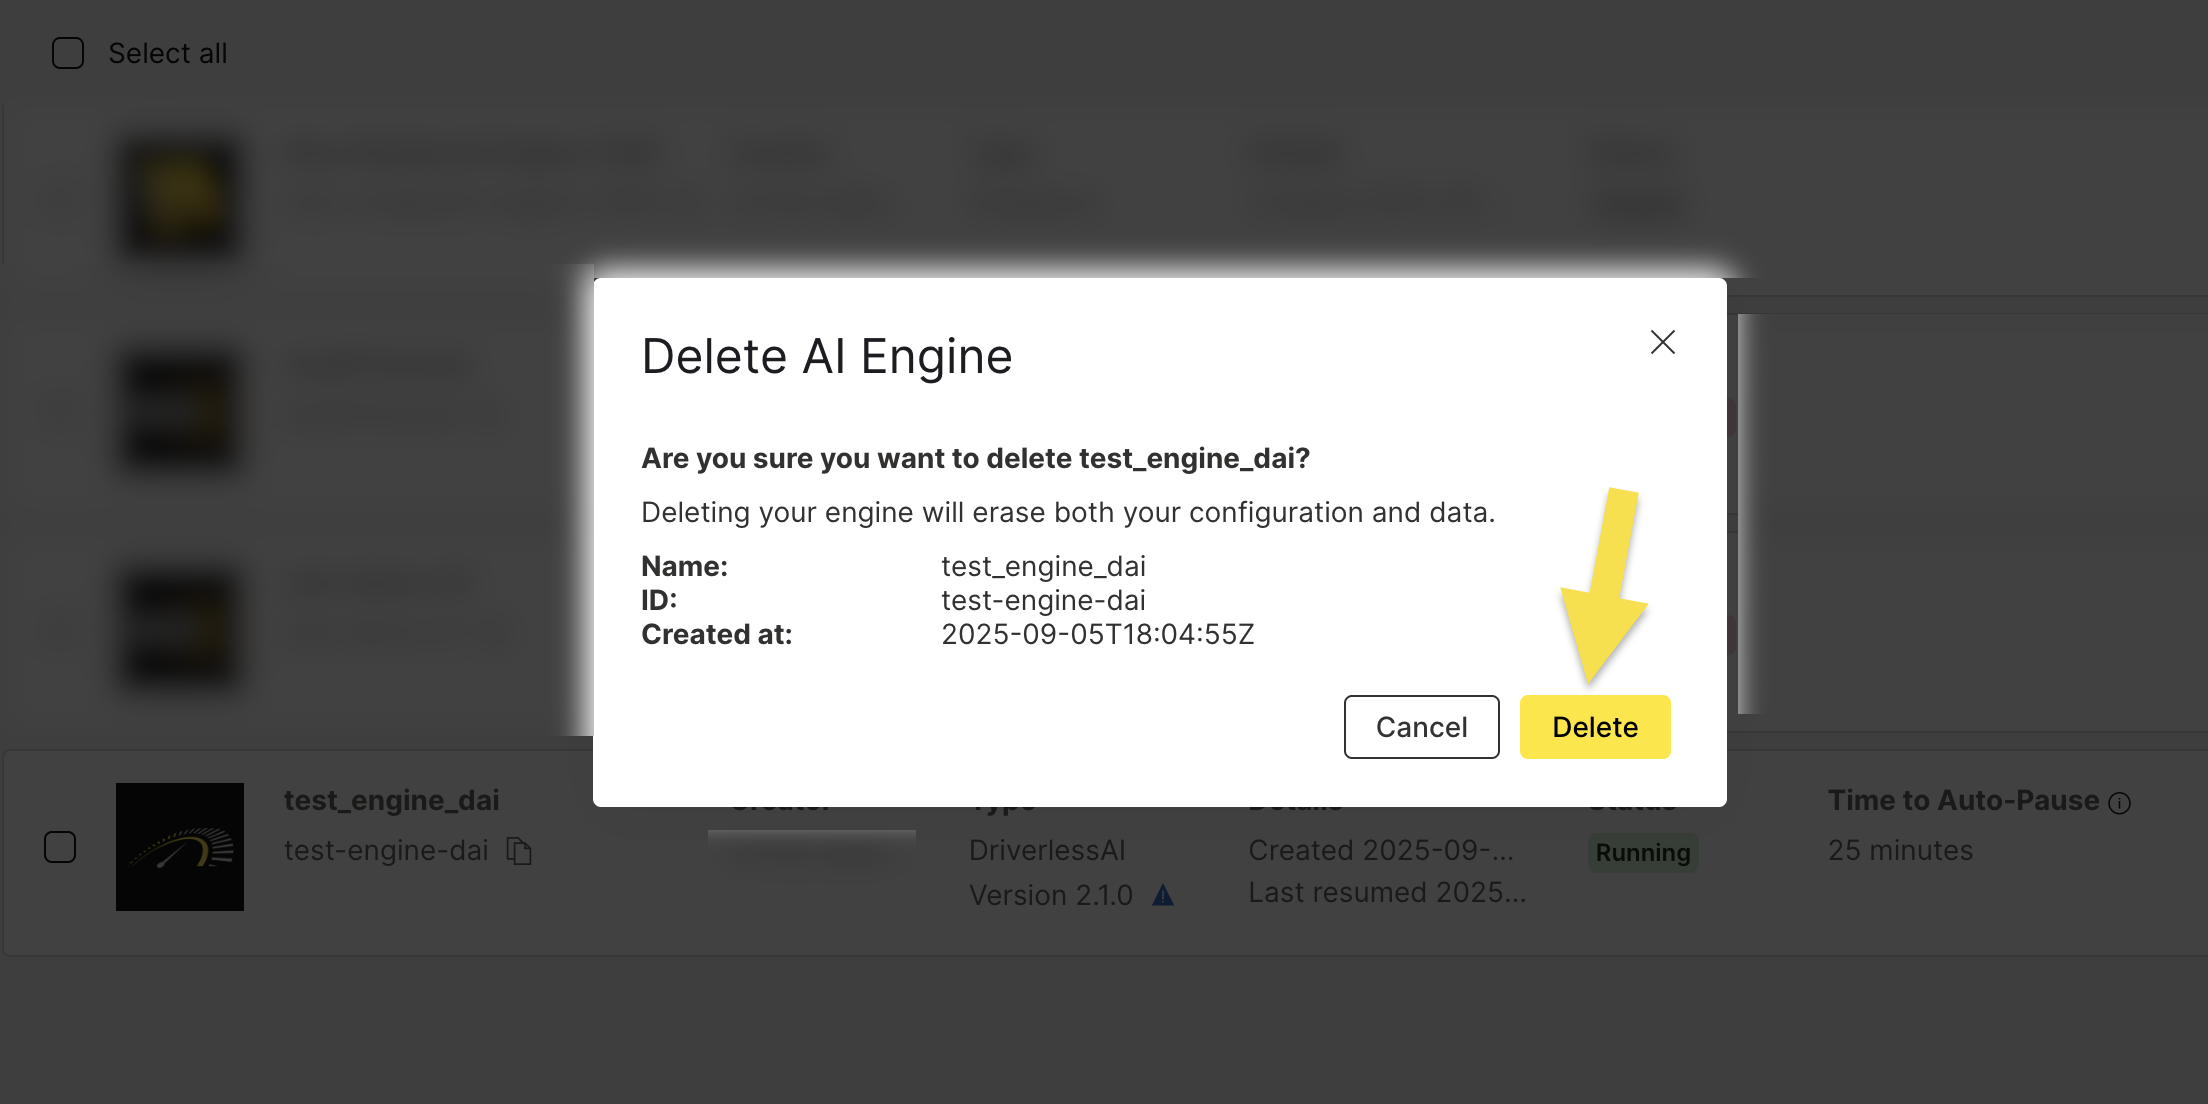
Step 2: Confirm Deletion
- Verify you have backed up any important data.
- Click Delete to confirm the engine deletion.
- The engine will be removed from your AI Engines list
- All associated resources will be deallocated
- Storage costs will be eliminated immediately
- The engine ID will be available for reuse
- Submit and view feedback for this page
- Send feedback about AI Engine Manager to cloud-feedback@h2o.ai